|
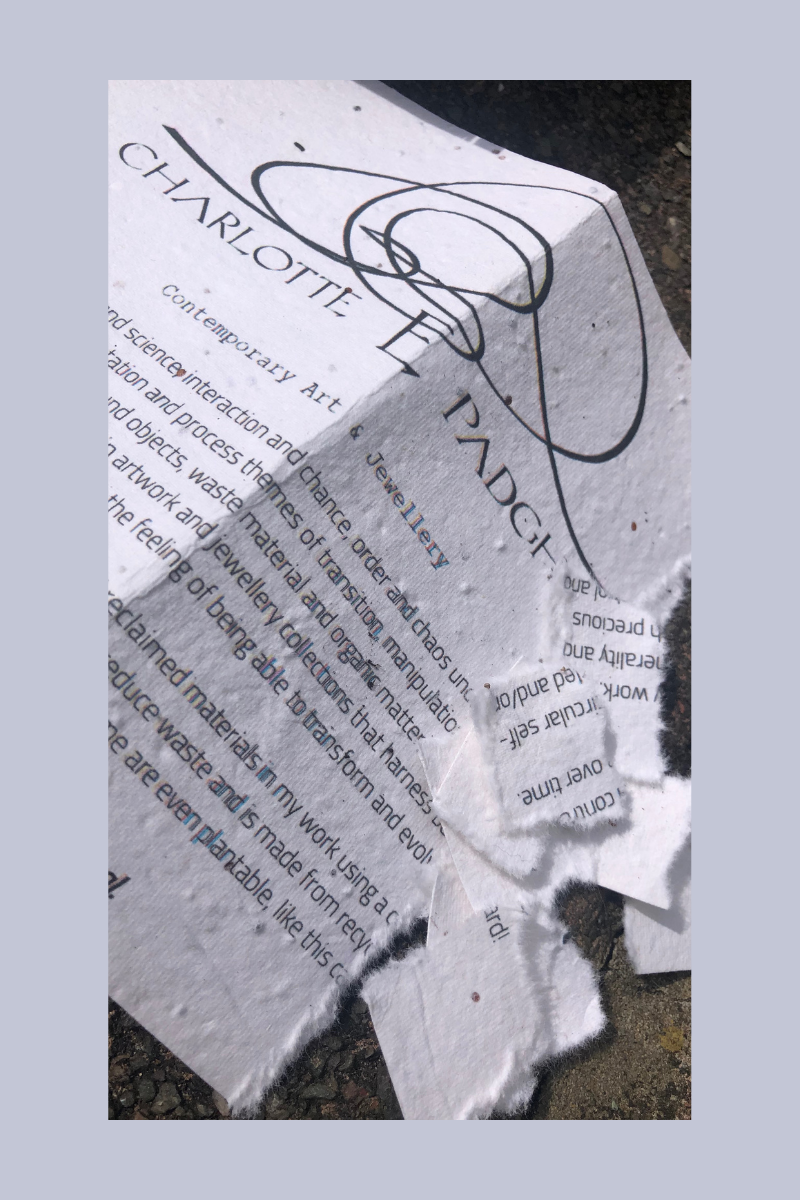
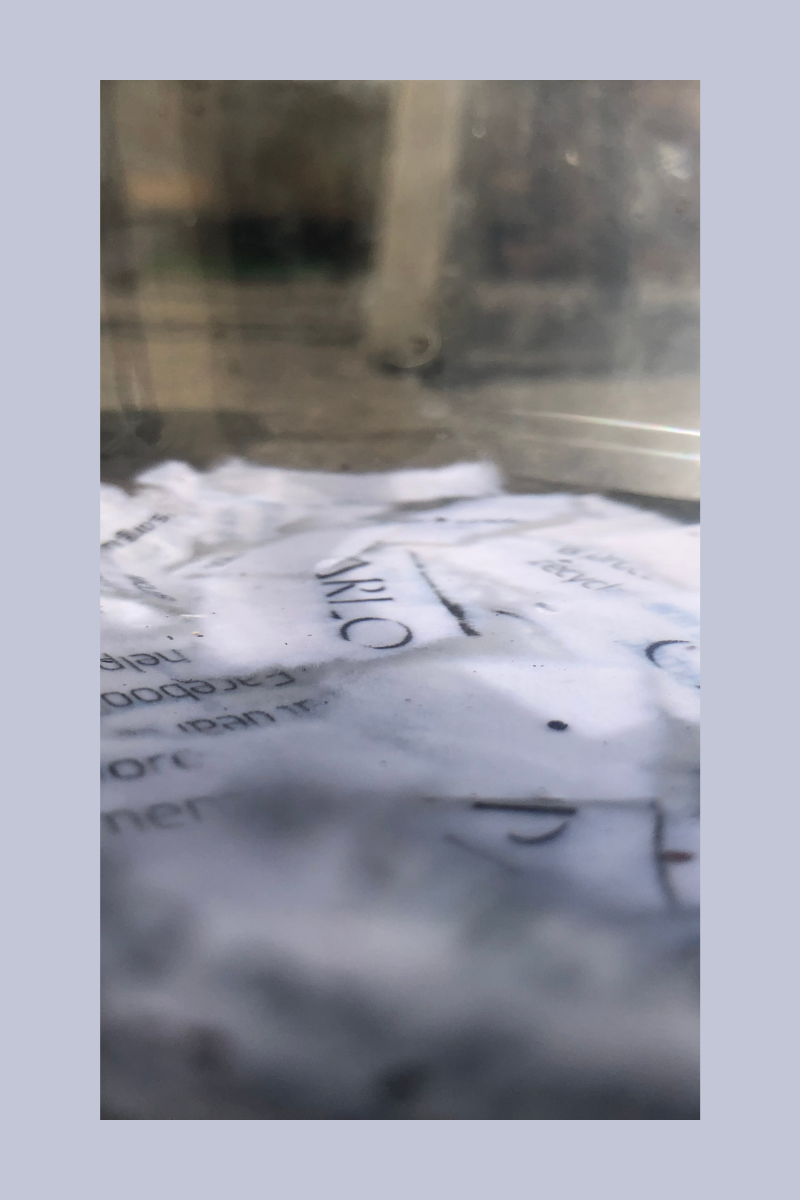
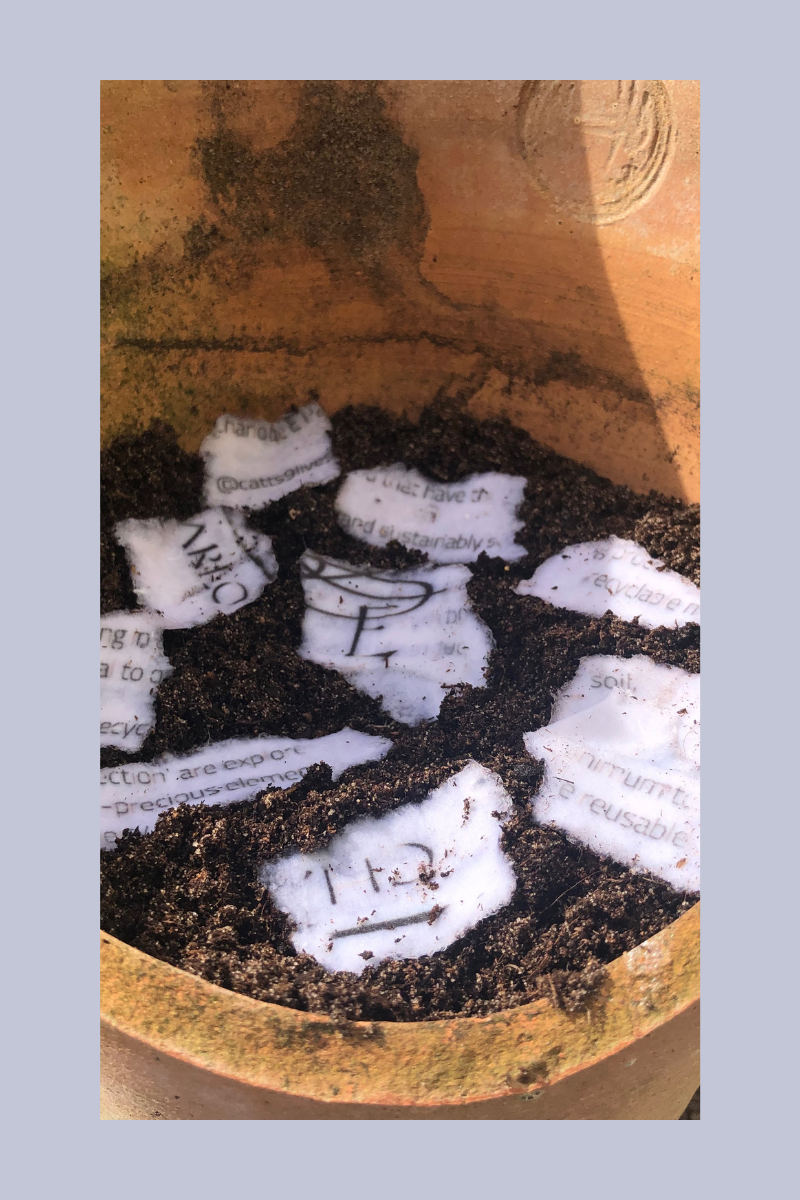
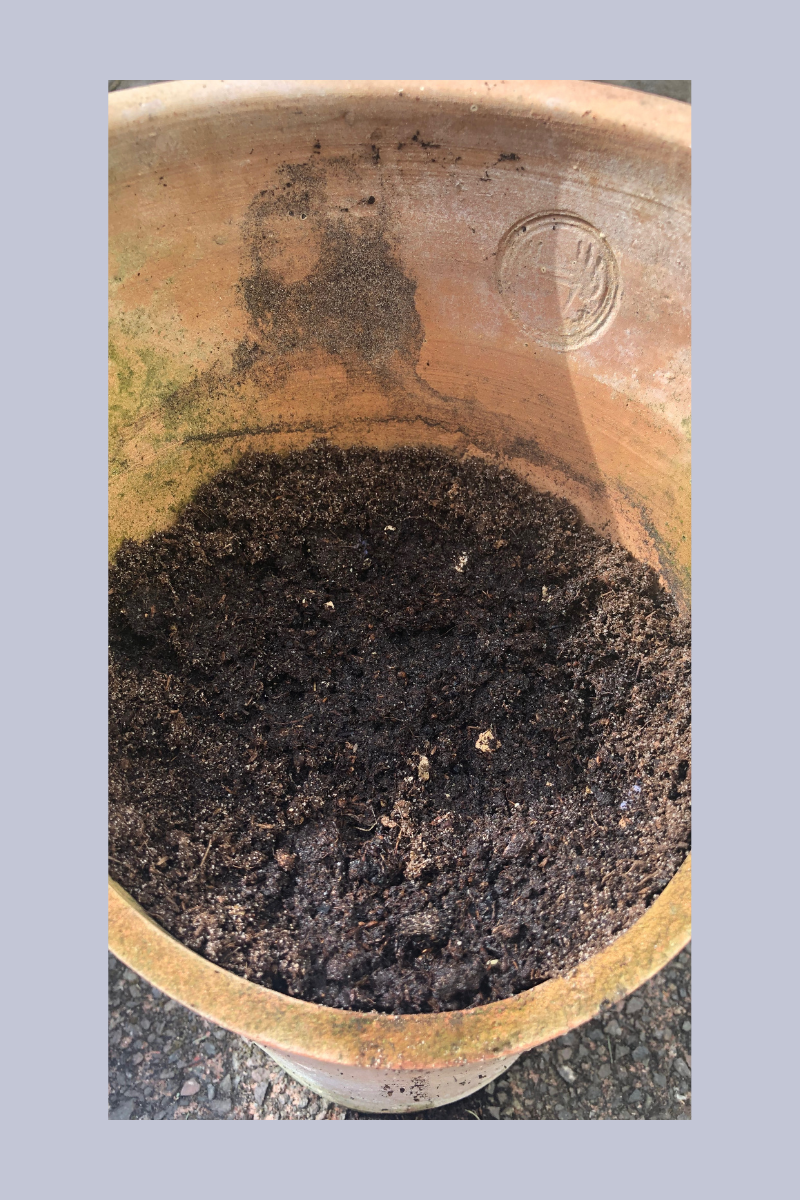
All artwork and jewellery you purchase from me is accompanied by a card with a little bit about my work, the materials I use and information on how to stay in touch all printed on luxurious 100% biodegradable paper containing a mixture of wild flower seeds including Poppy, Daisy, Rudbeckia and Forget-me-not. It's important to me that my packaging and related 'paraphernalia' is as waste-free and sustainable as possible. And I just love being able to gift a little bit of nature that will live on and benefit not only our environment but also our mental health. So how do you plant your seeded paper? I've created a little step-by-step below to help you on your way to growing your own wild flowers. It is a very simple process and I find it quite meditative as a gentle, quiet moment to myself...or get your friends or family involved to share the experience. When should you plant the seeded paper? The end of April/beginning of May (or once the last frosts are over) is the perfect time to plant your seeded paper information card. Although, if you are planning to grow them indoors you can pretty much plant all year round as long as they are by a window. But being wild flowers, they will ultimately prefer to be outdoors and untamed! STEP 1: Tear up the card into small pieces (don't forget to photograph it first to keep the info, or sign up to my mailing list and follow me on social media to stay in touch!). STEP 2: Soak the pieces for 30secs or so in water. STEP 3: Layer the soaked torn pieces of seeded paper on top of soil in a pot or a flower bed. STEP 4: Cover lightly with a layer of soil and then water carefully. STEP 5:
Patience! It could take a few weeks for the seeds to germinate. Keep the soil moist and warm (but don't over water as it will encourage rotting), then keep an eye out for those first tiny sprouts! I hope you enjoy the experience. Please do photograph your progress and tag me on Facebook and Instagram, I'd love to see how you get on!
0 Comments
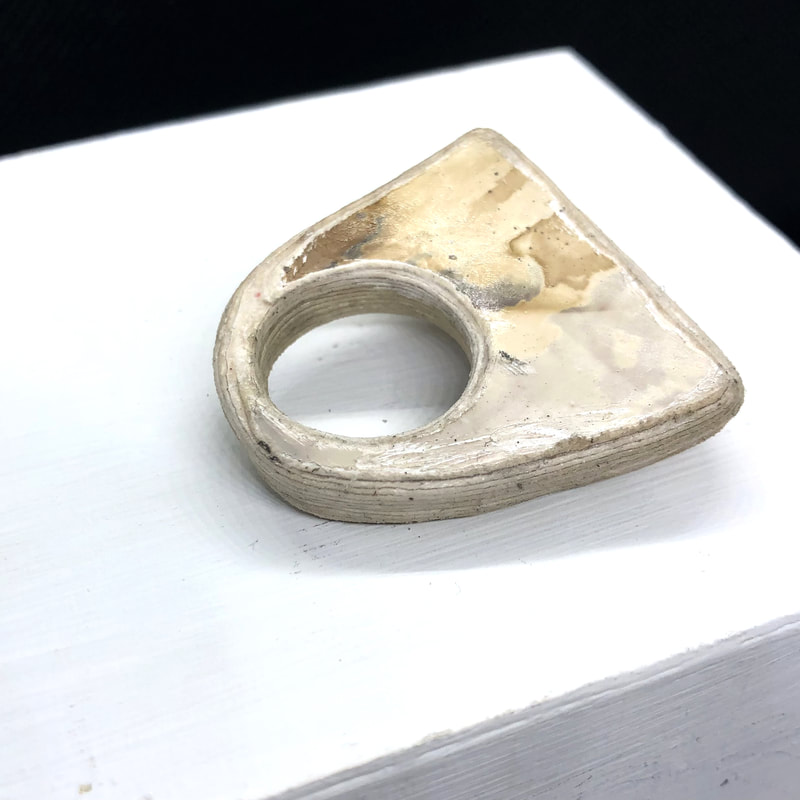
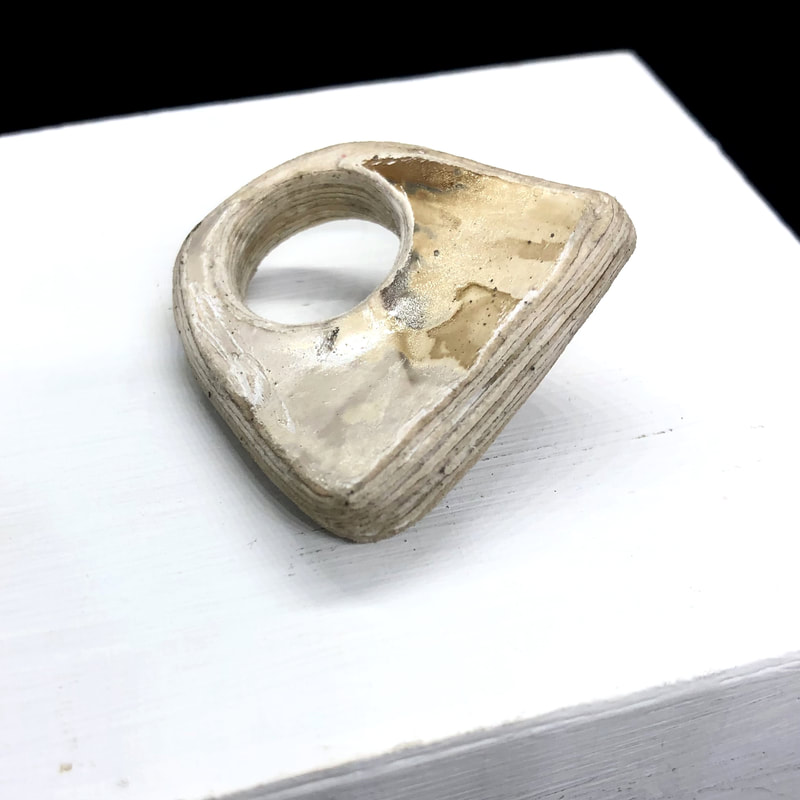
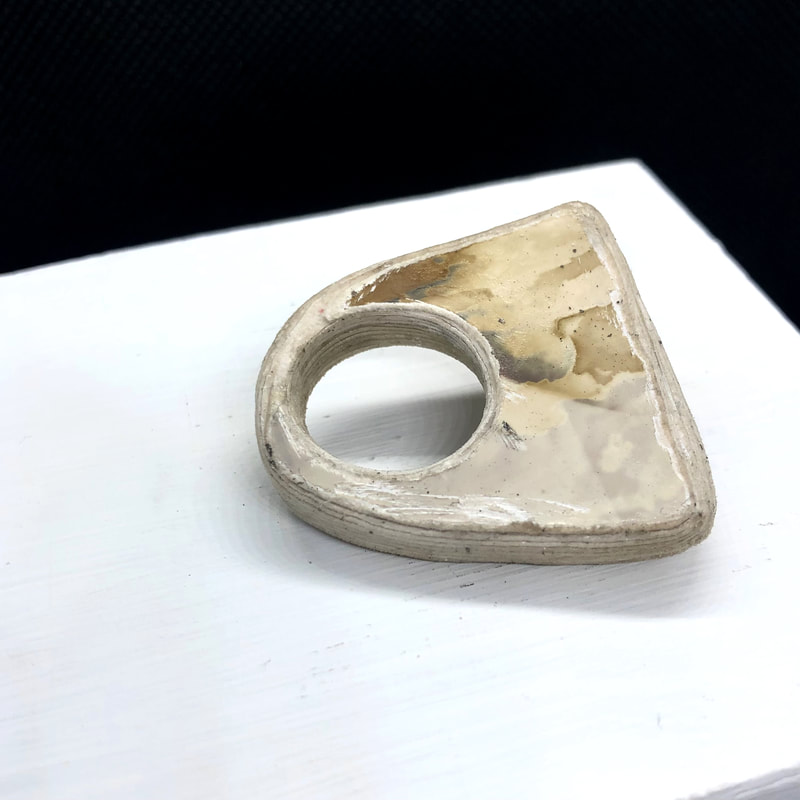
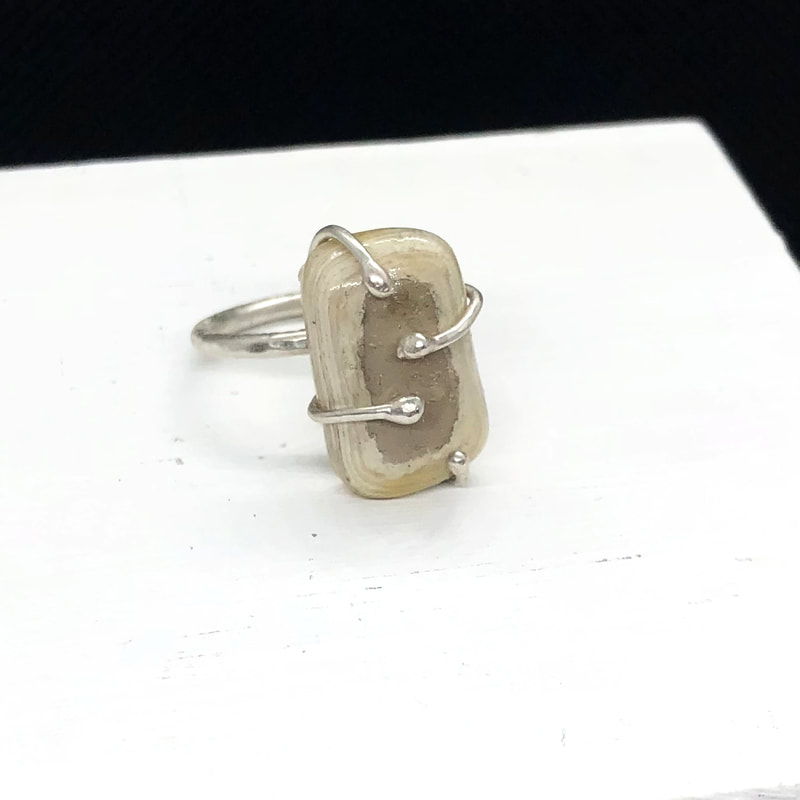
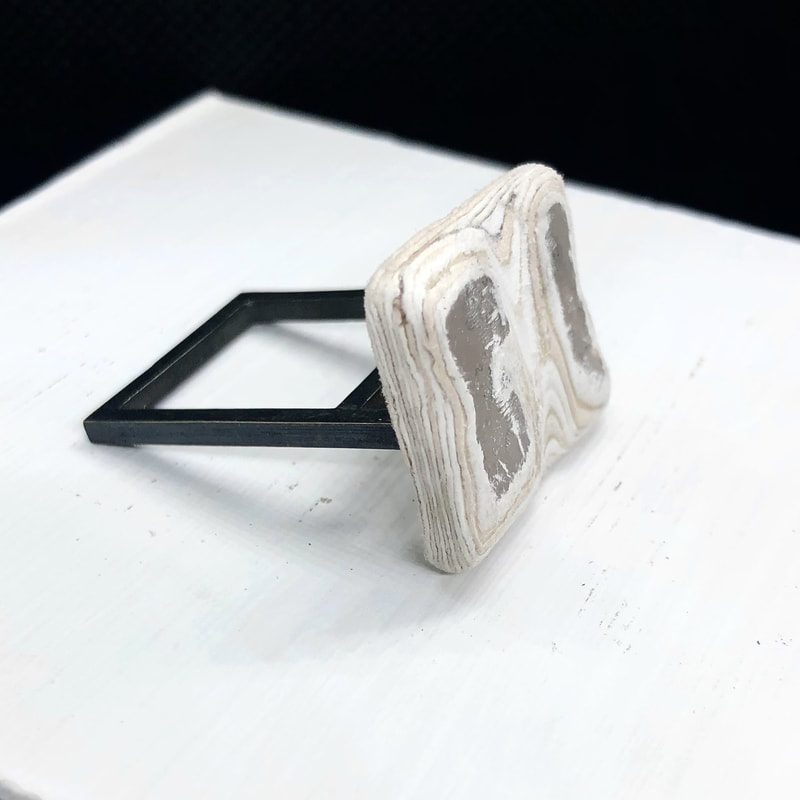
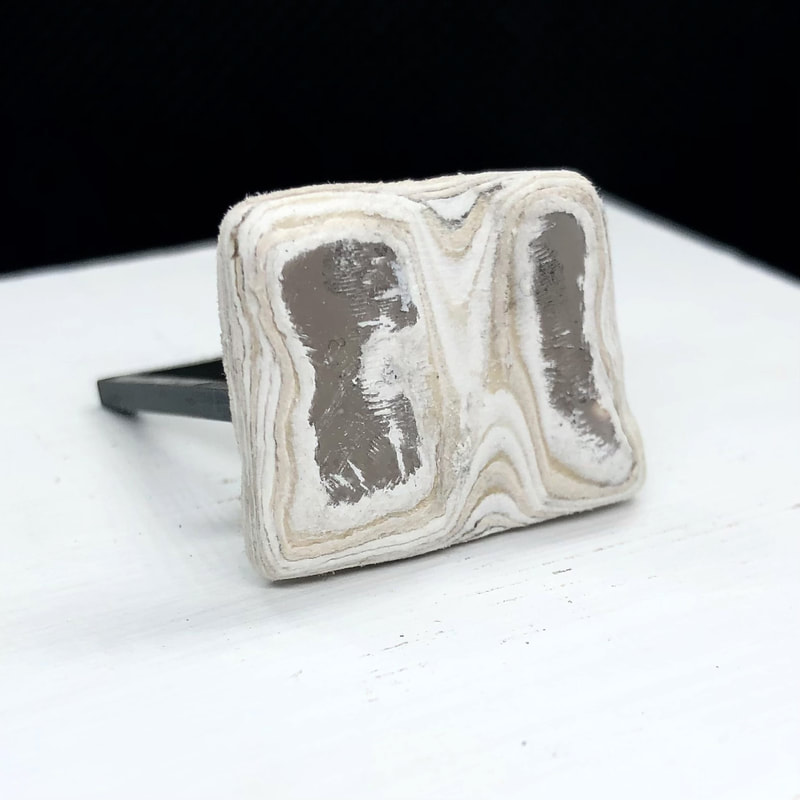
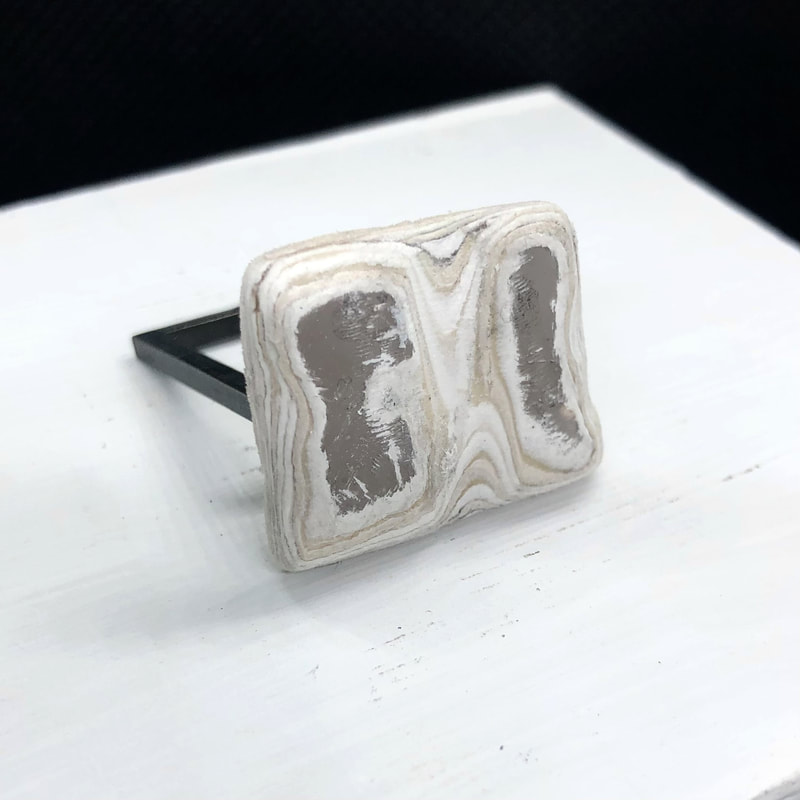
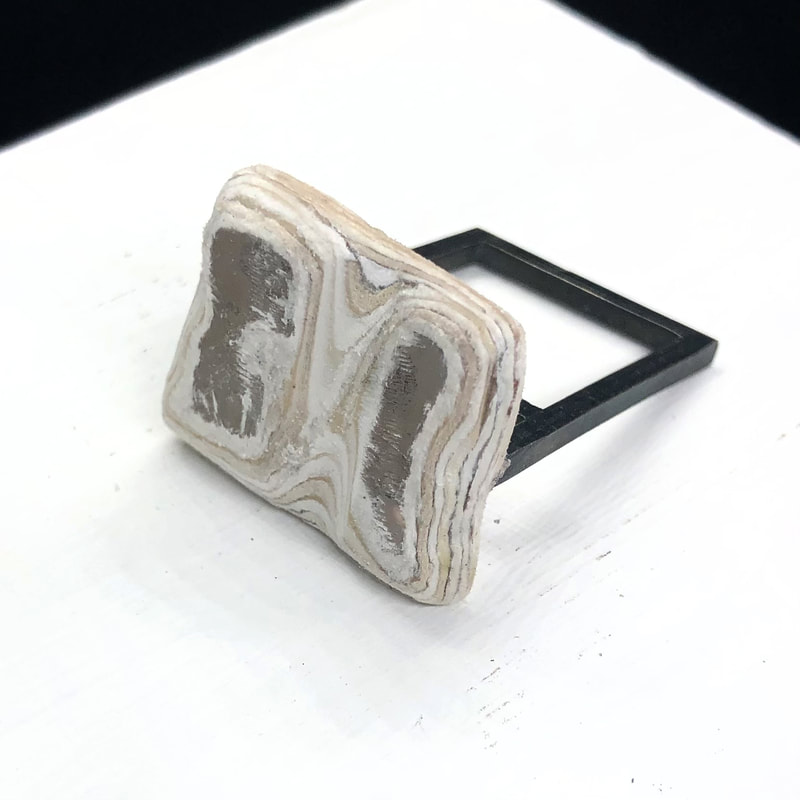
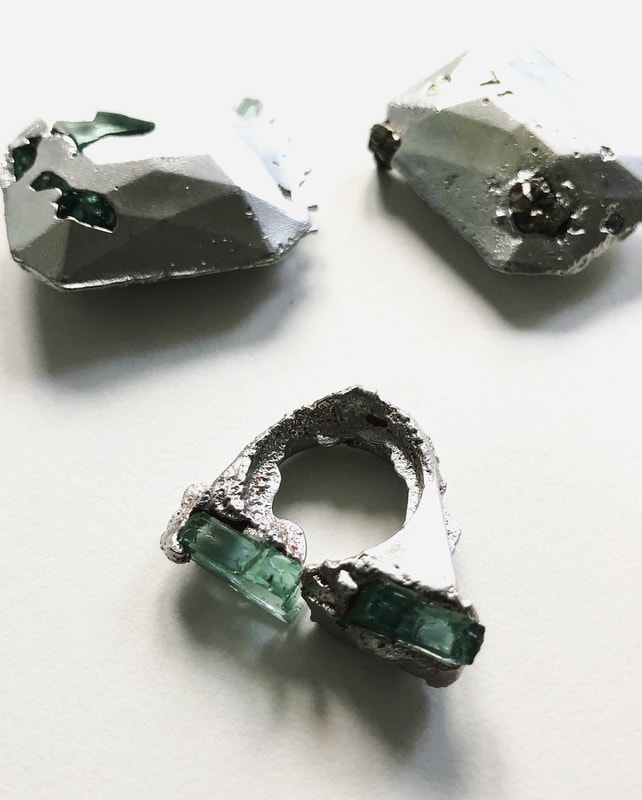
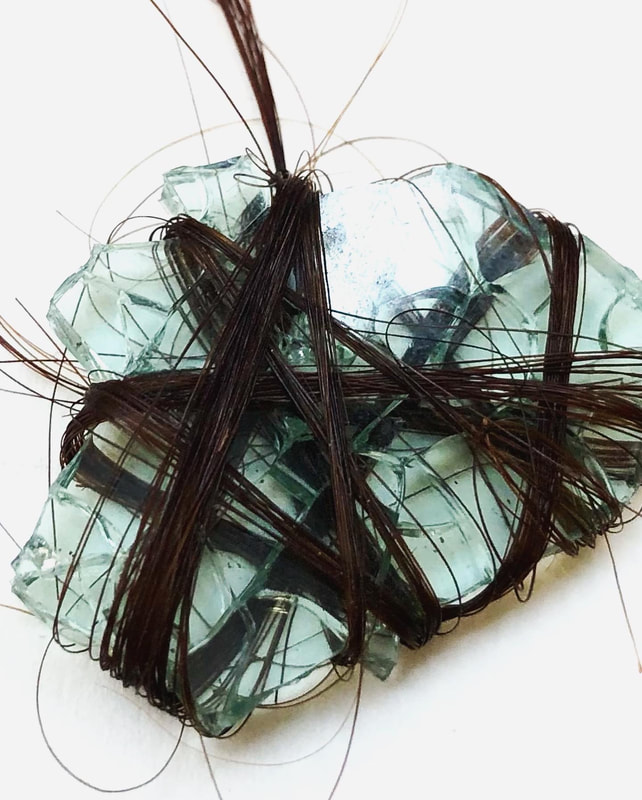
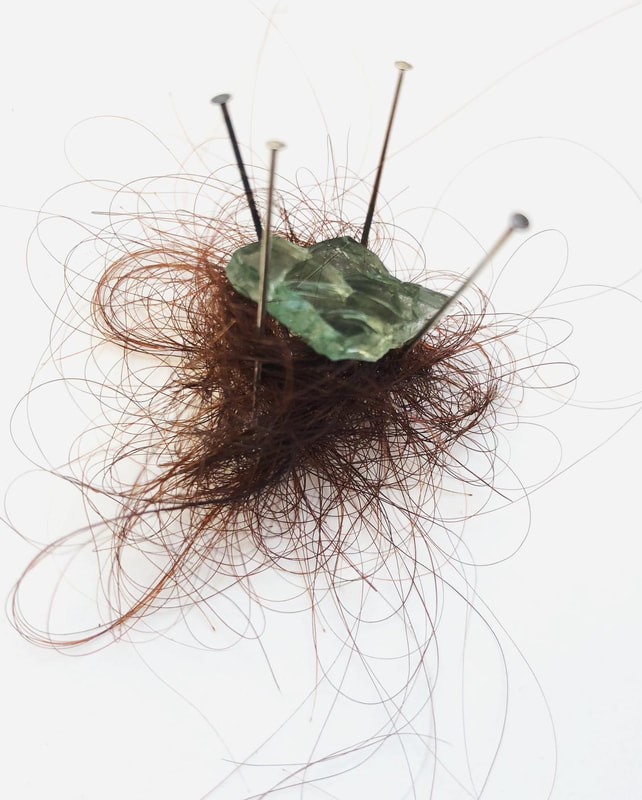
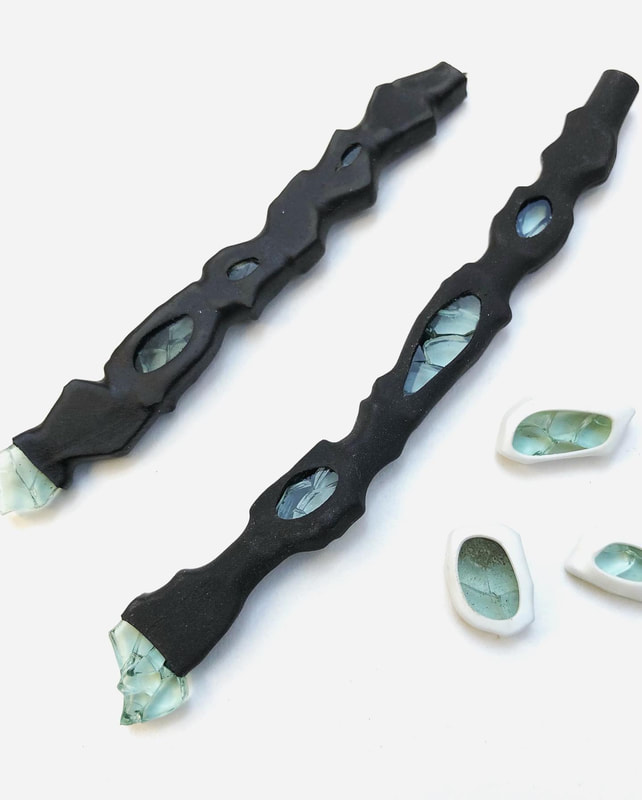
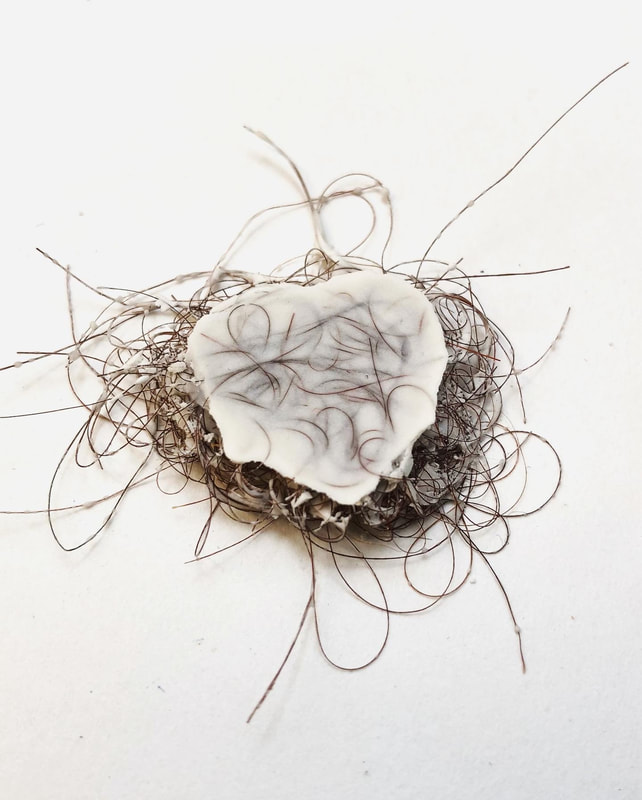
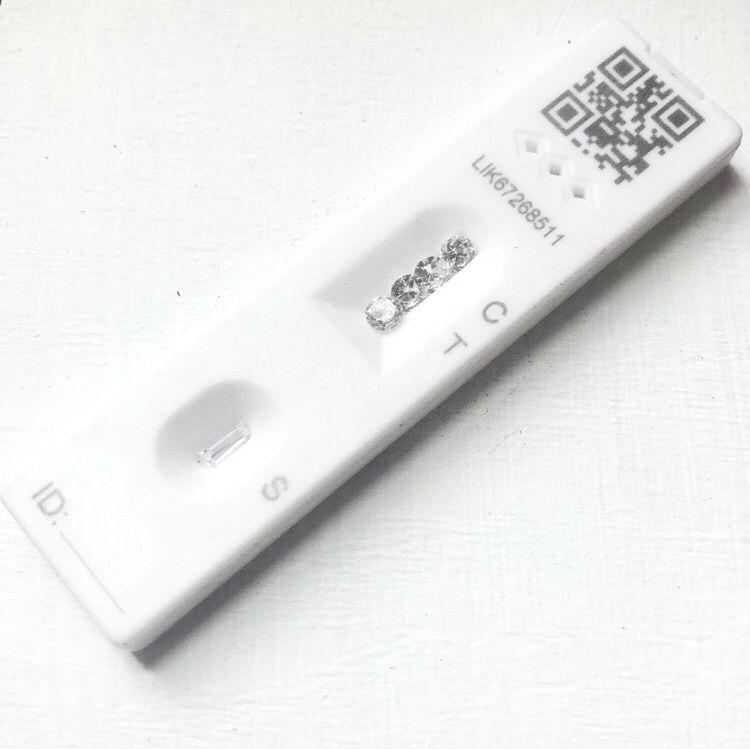
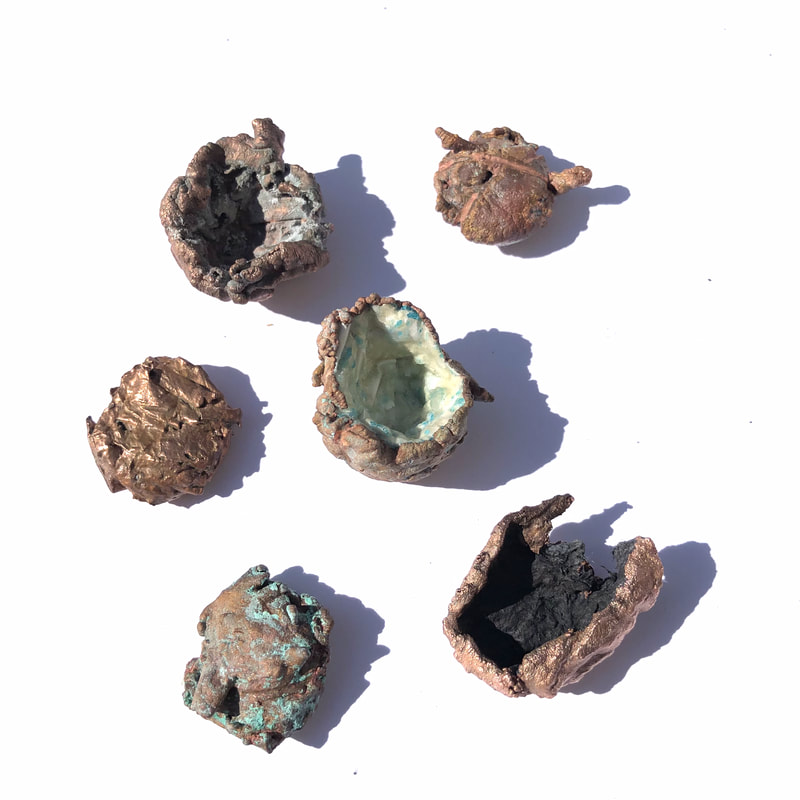
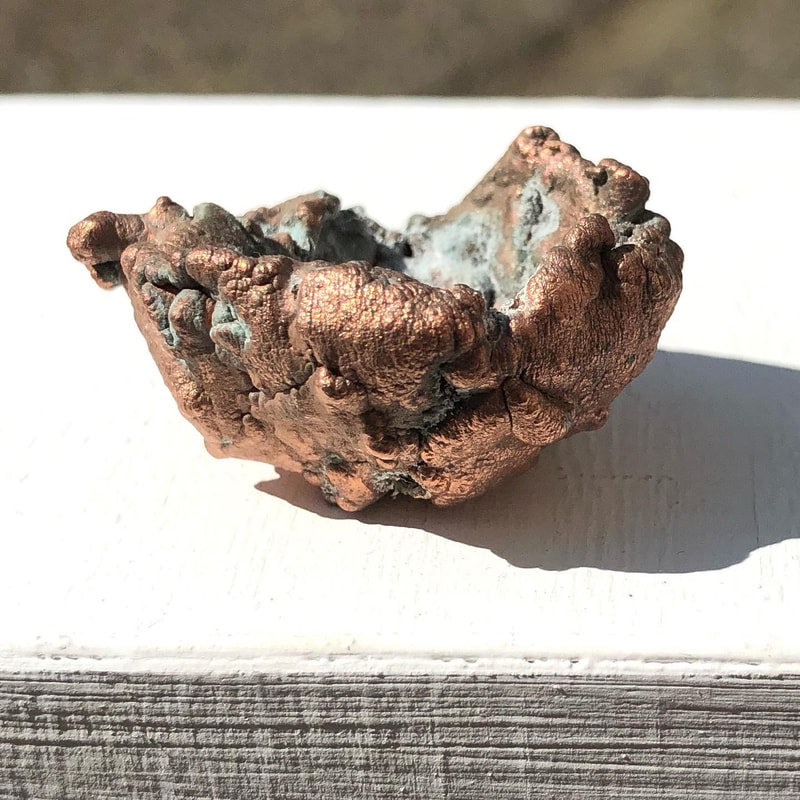
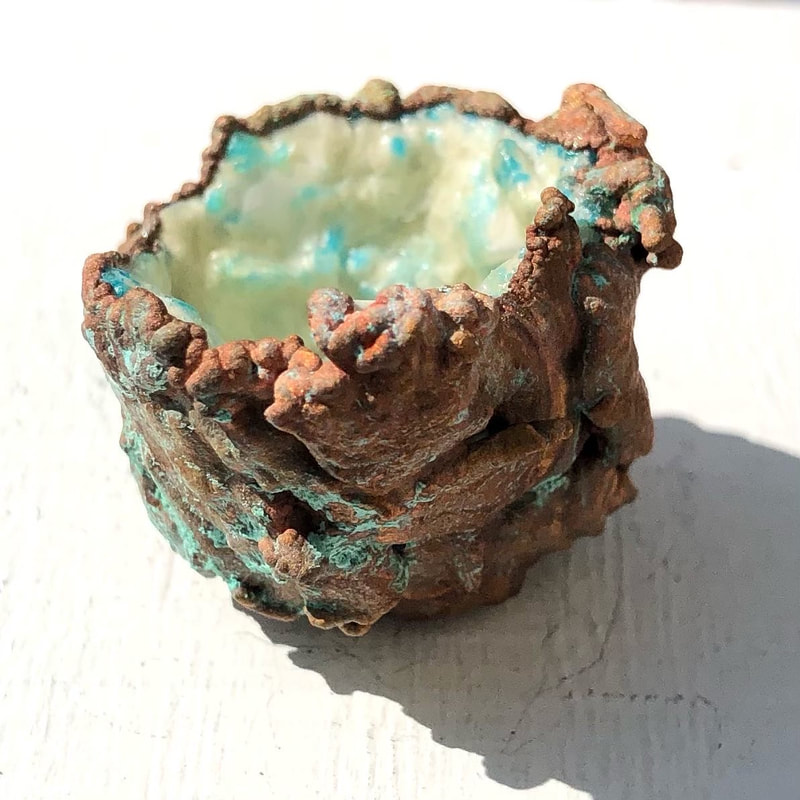
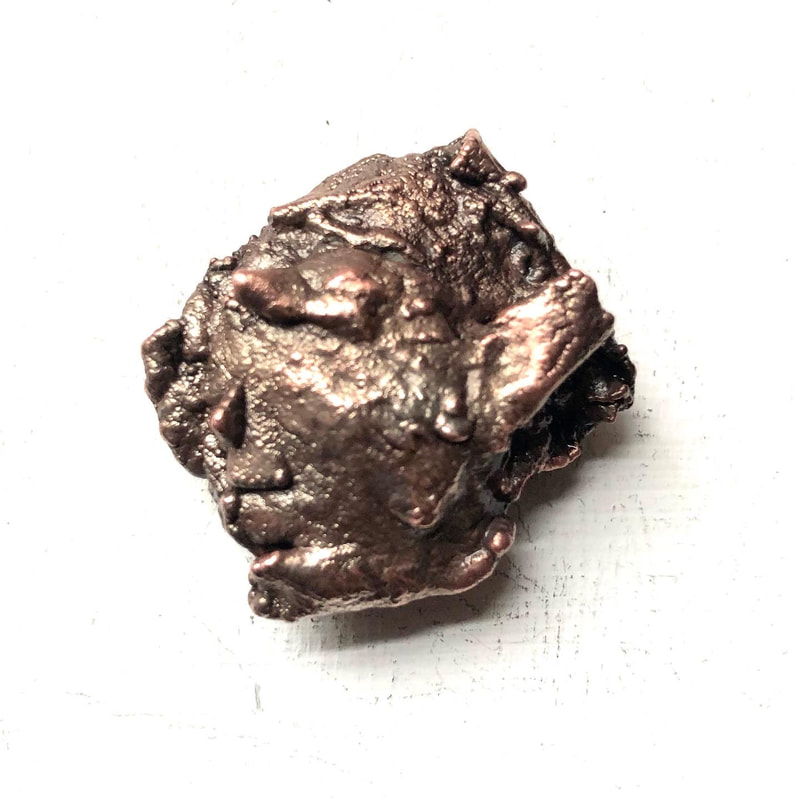
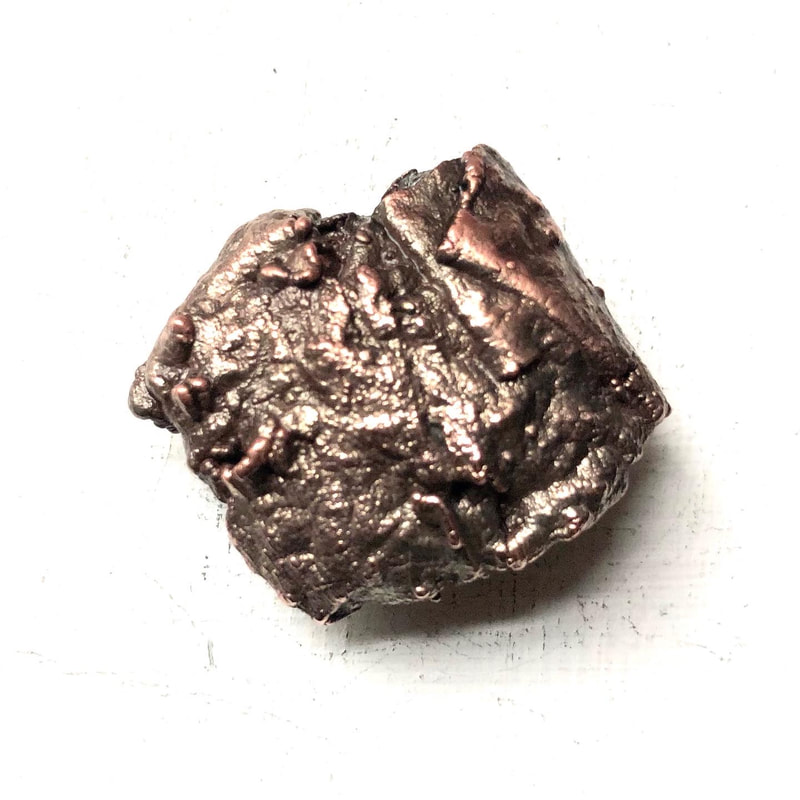
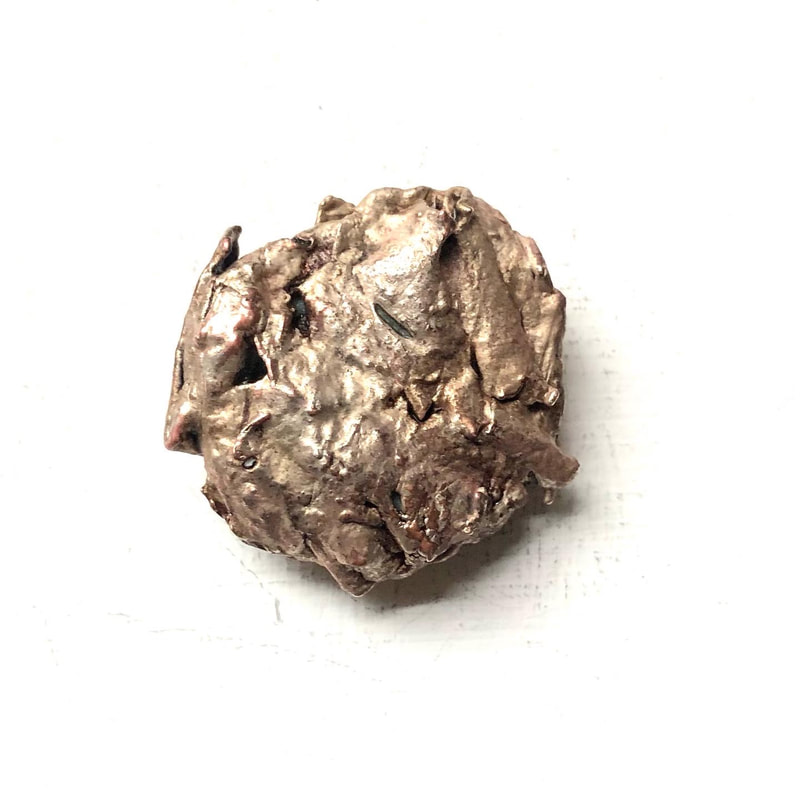
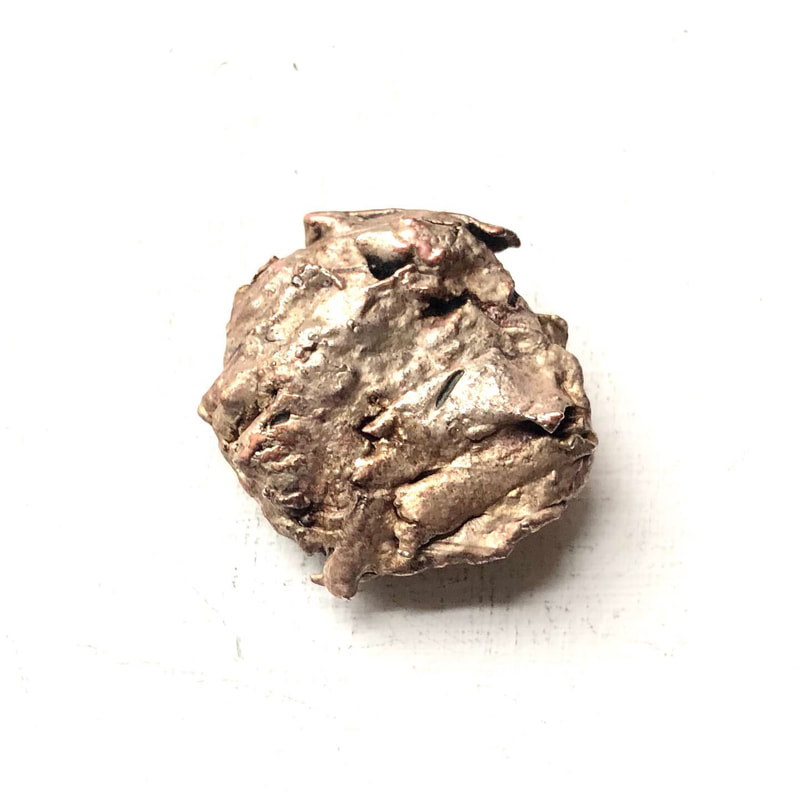
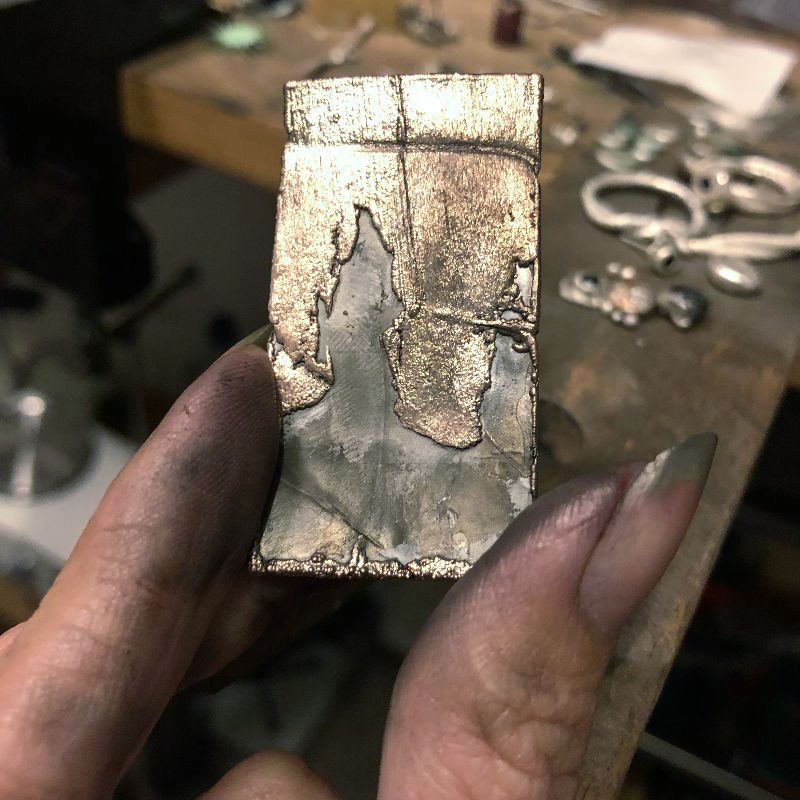
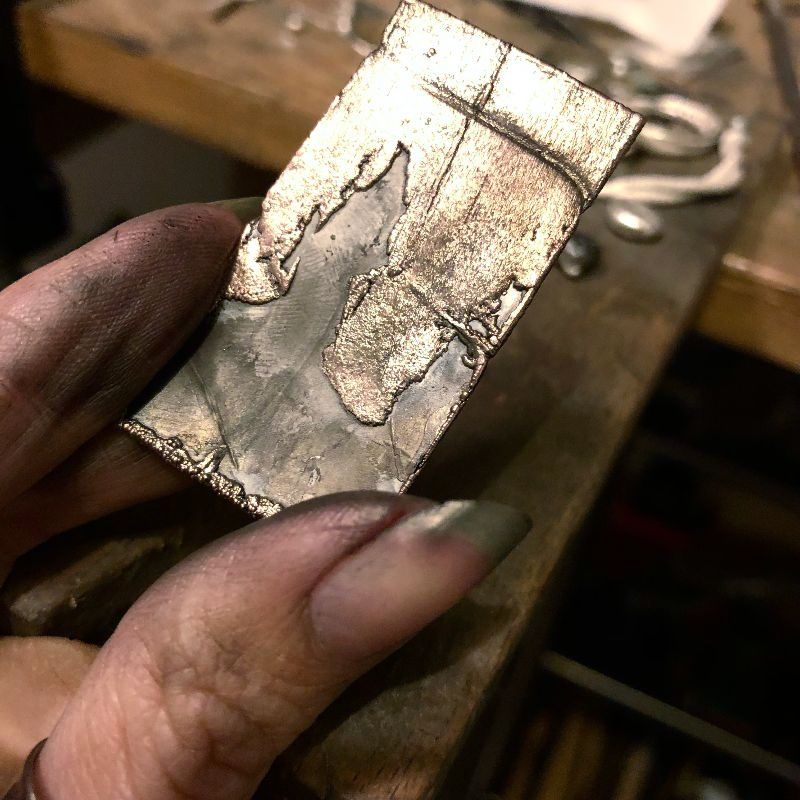
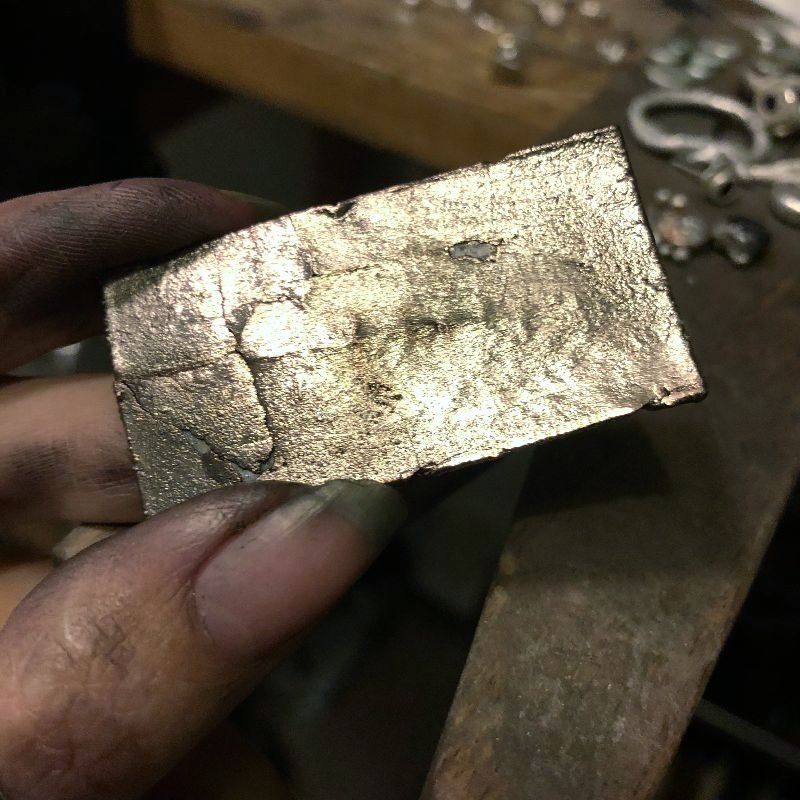
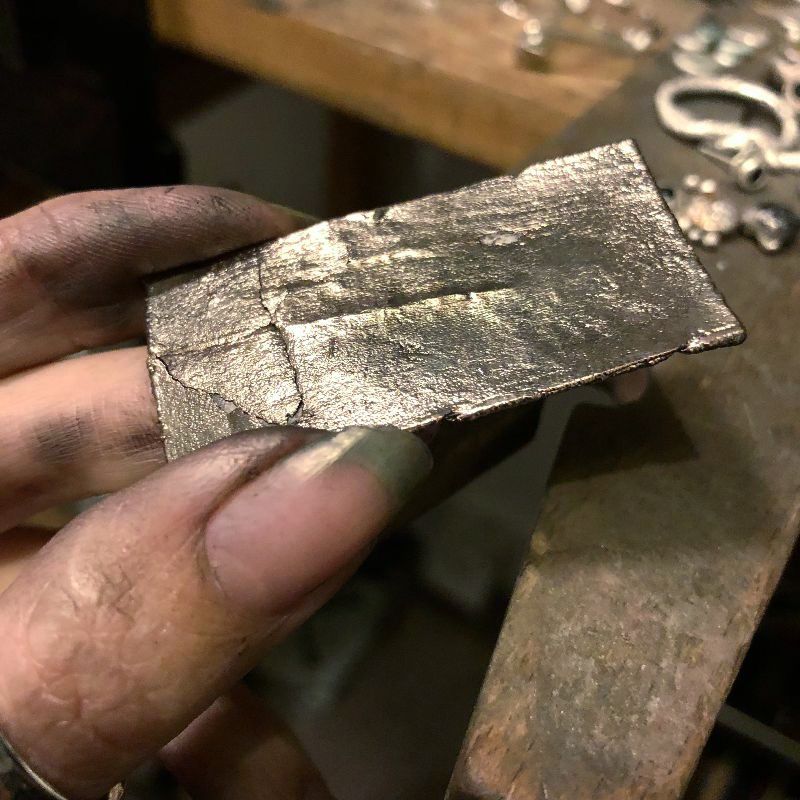
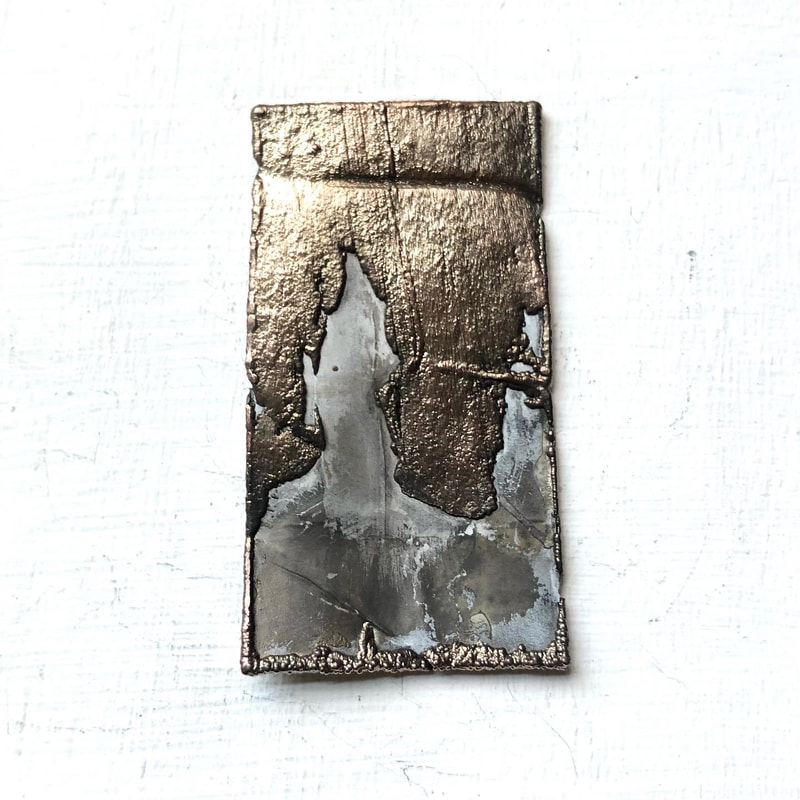
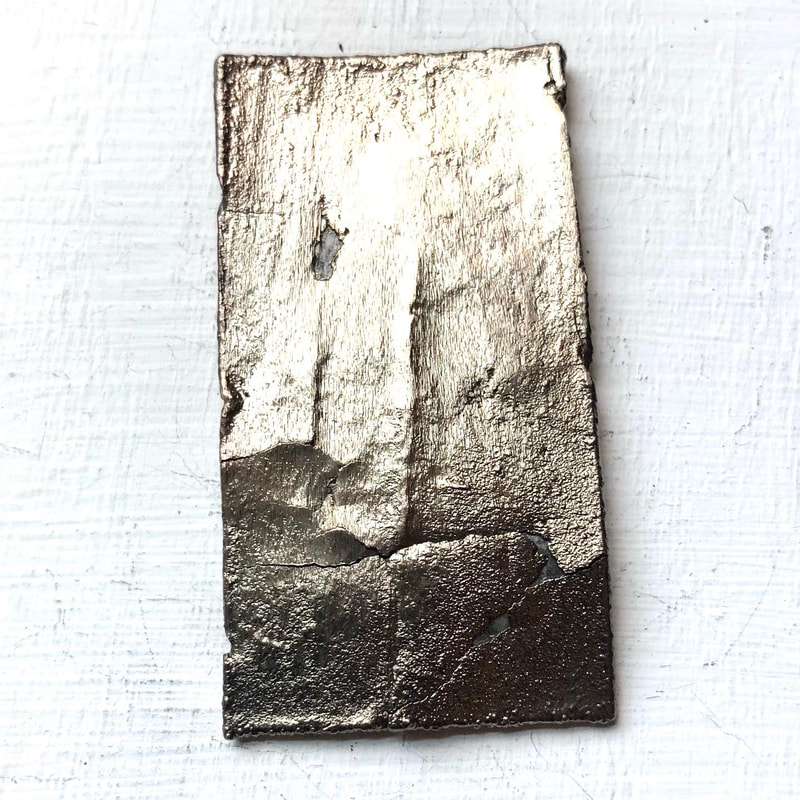
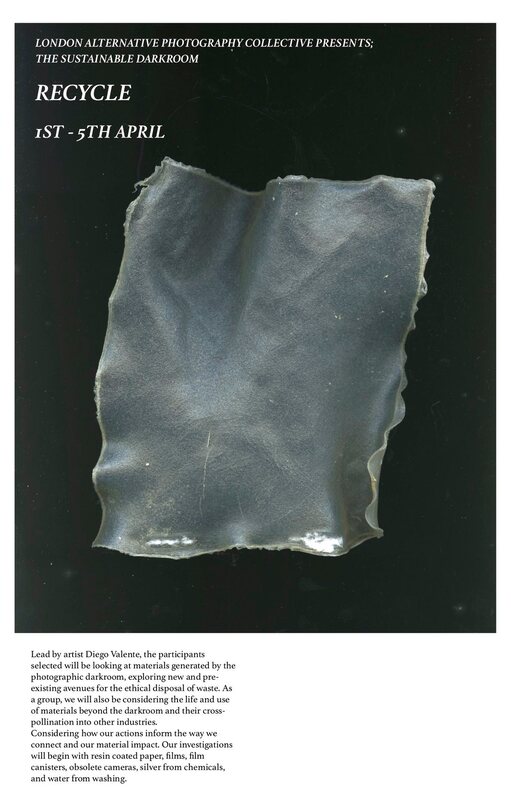
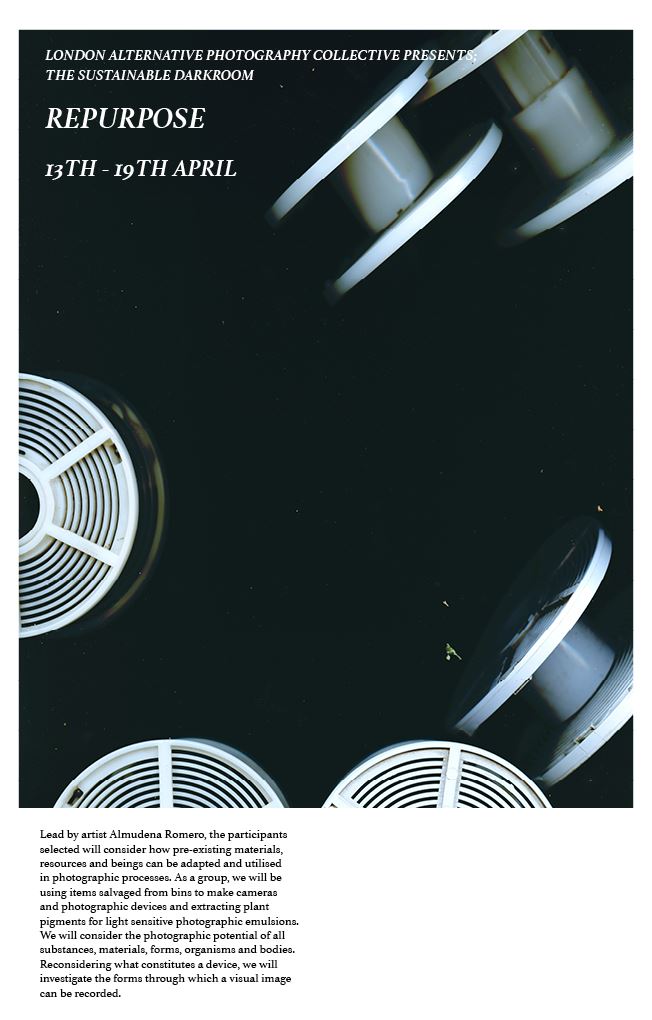
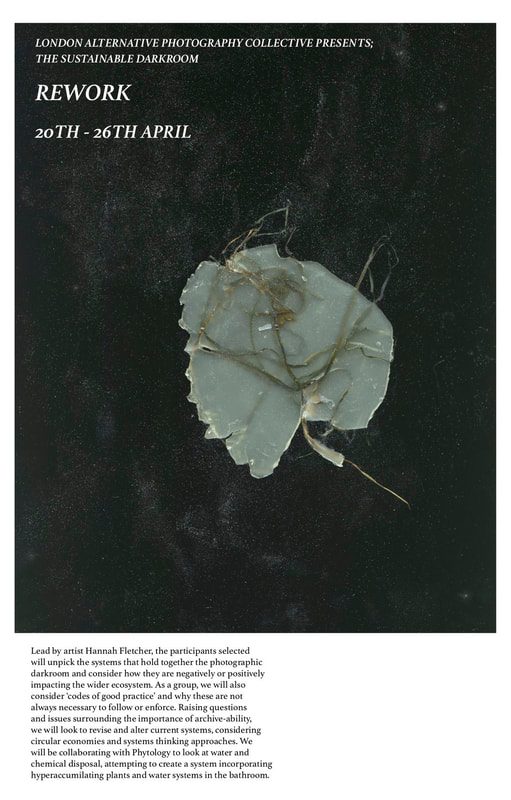
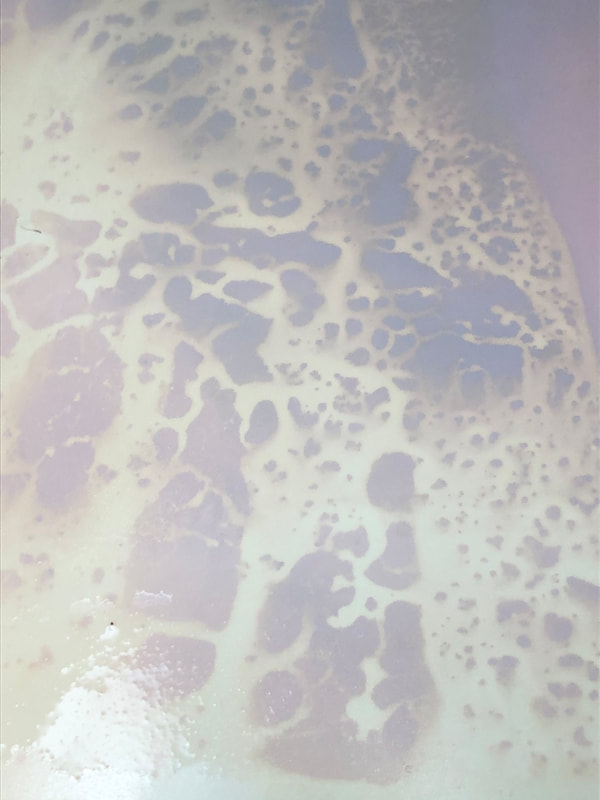
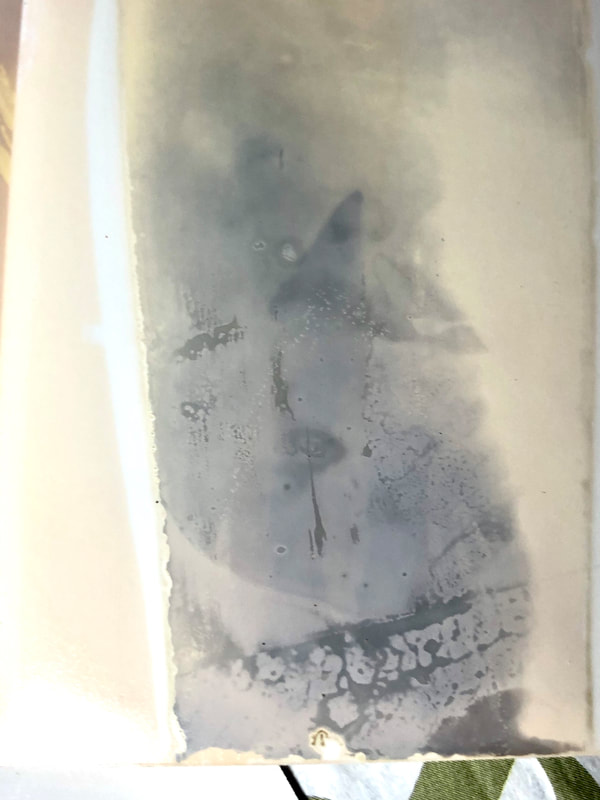
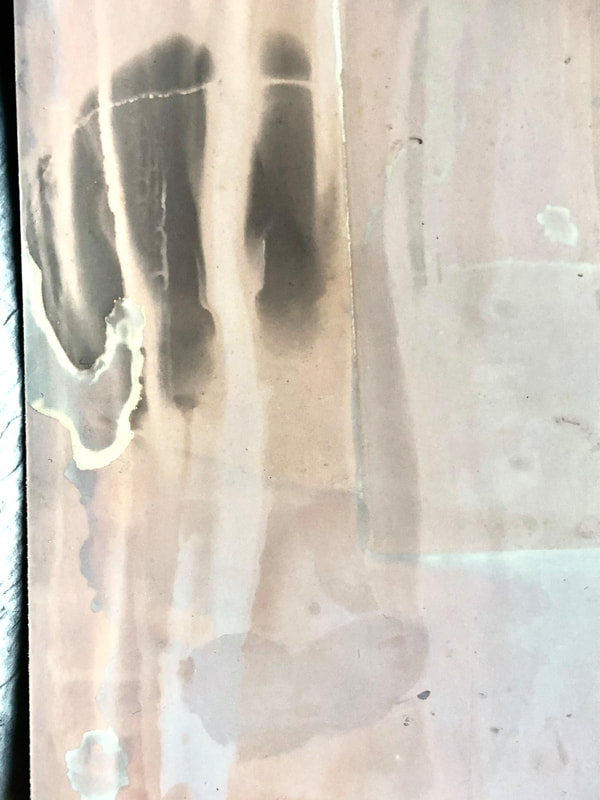
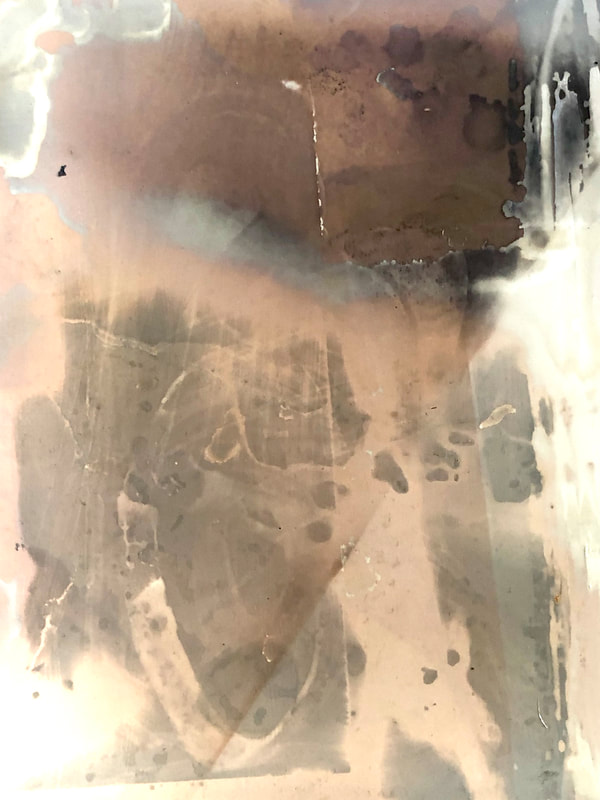
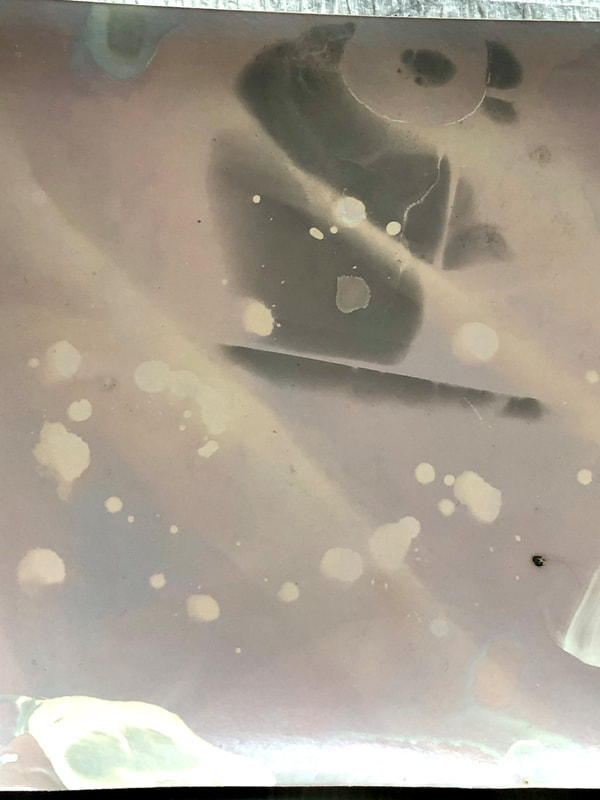
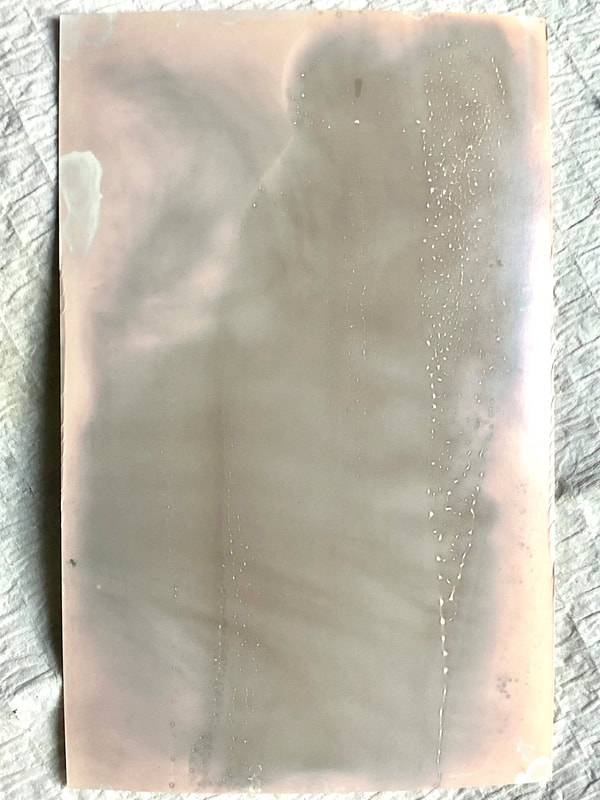
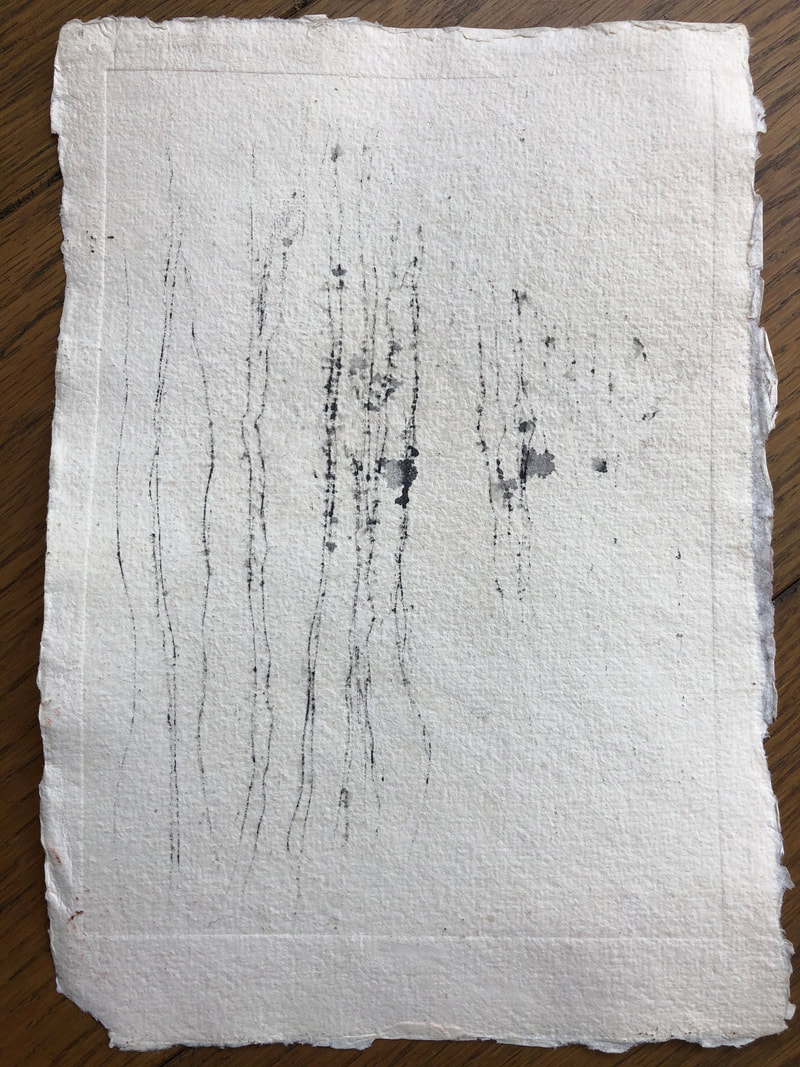
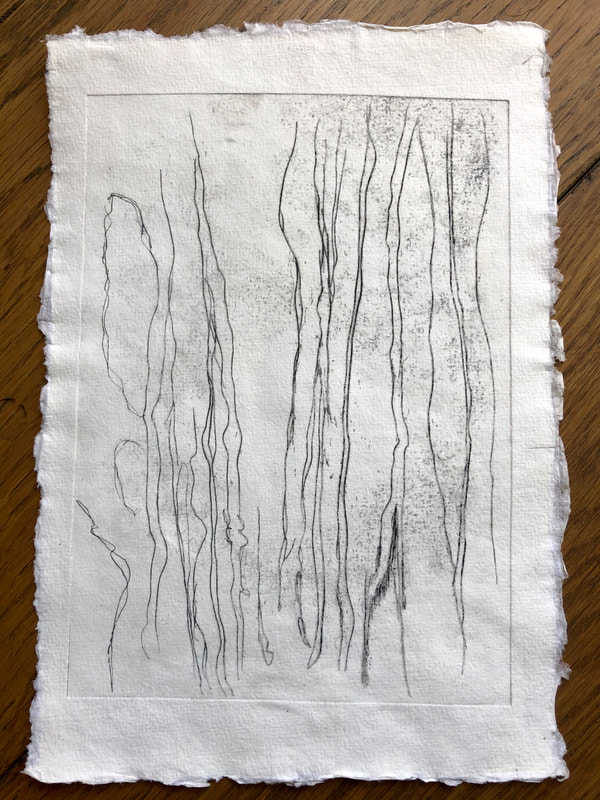
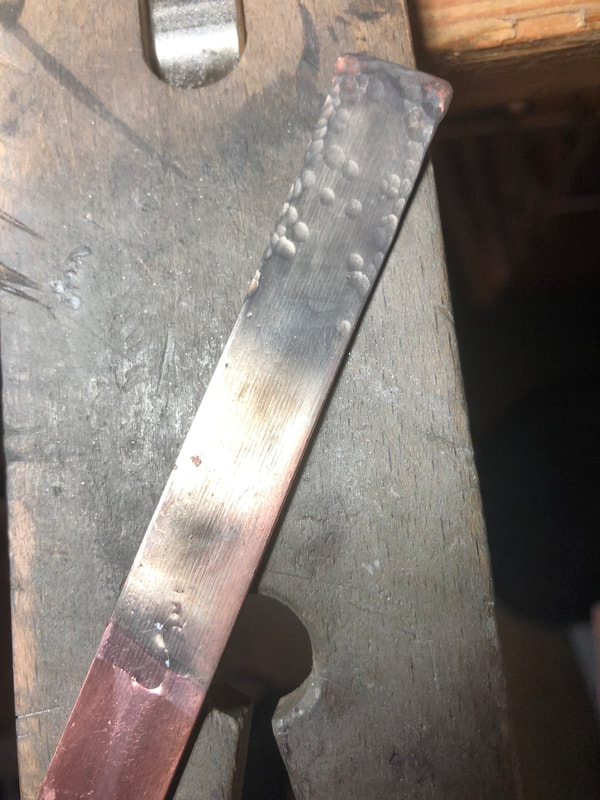
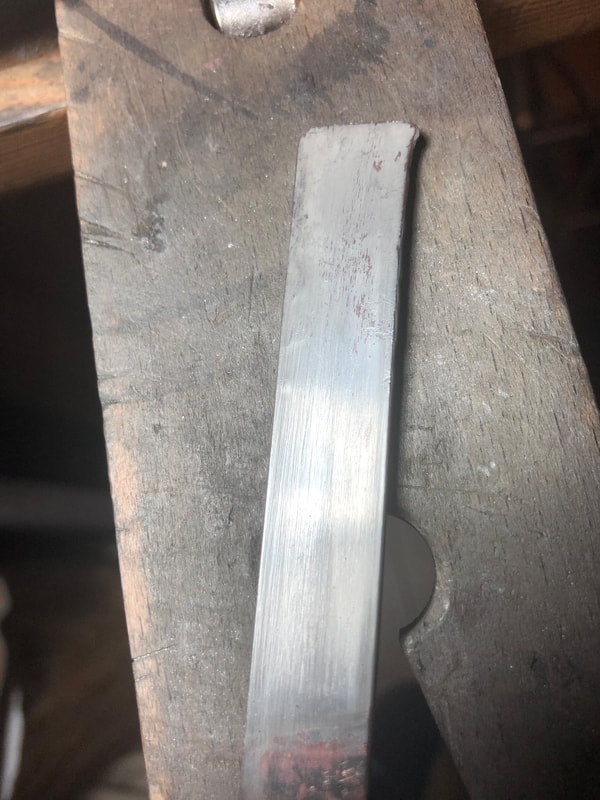
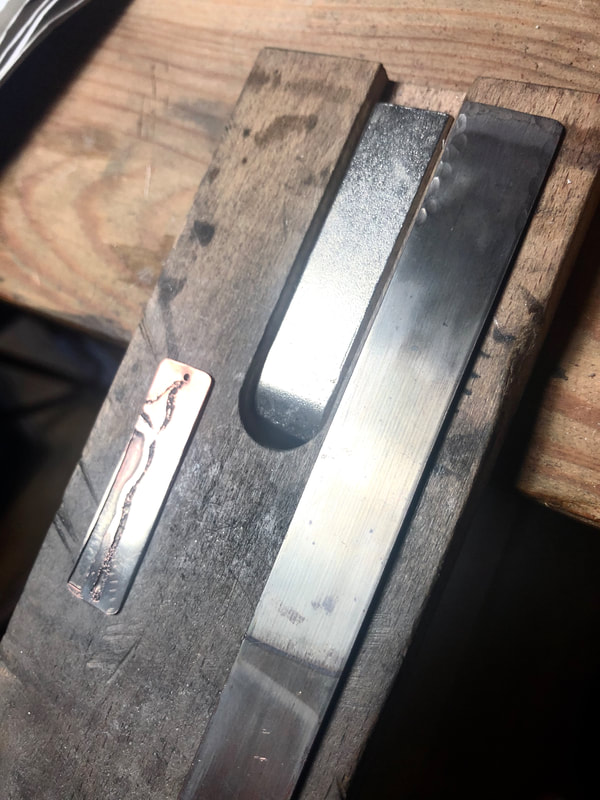
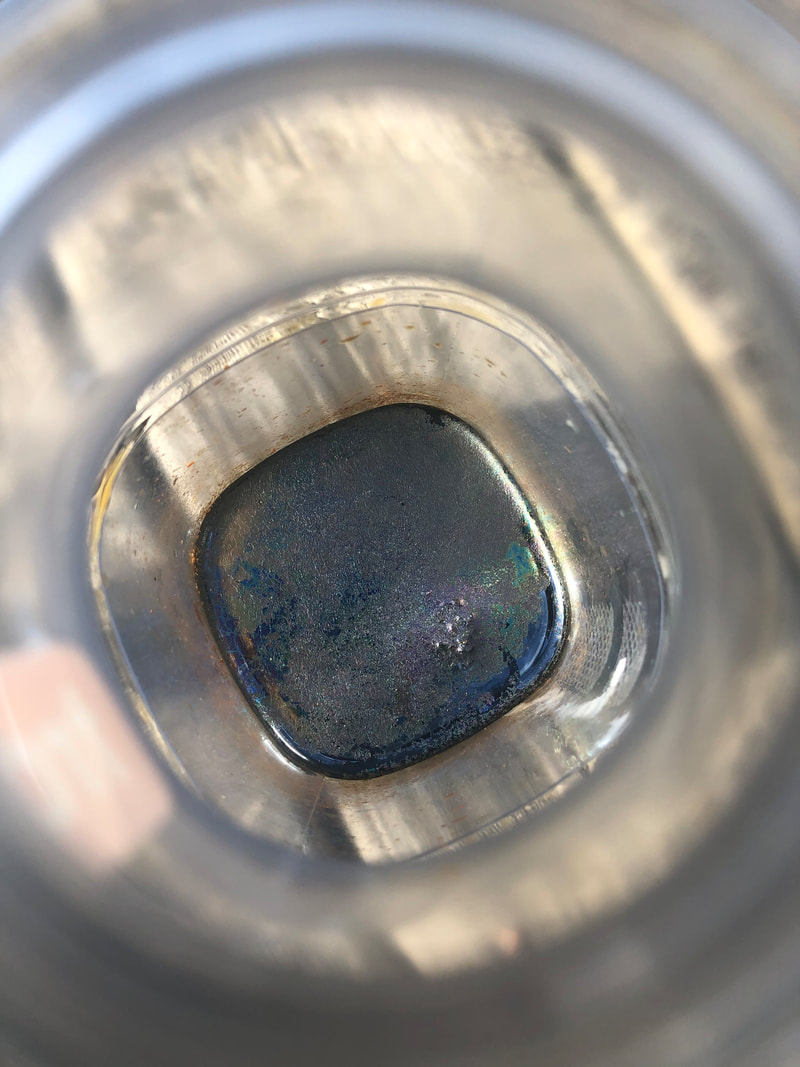
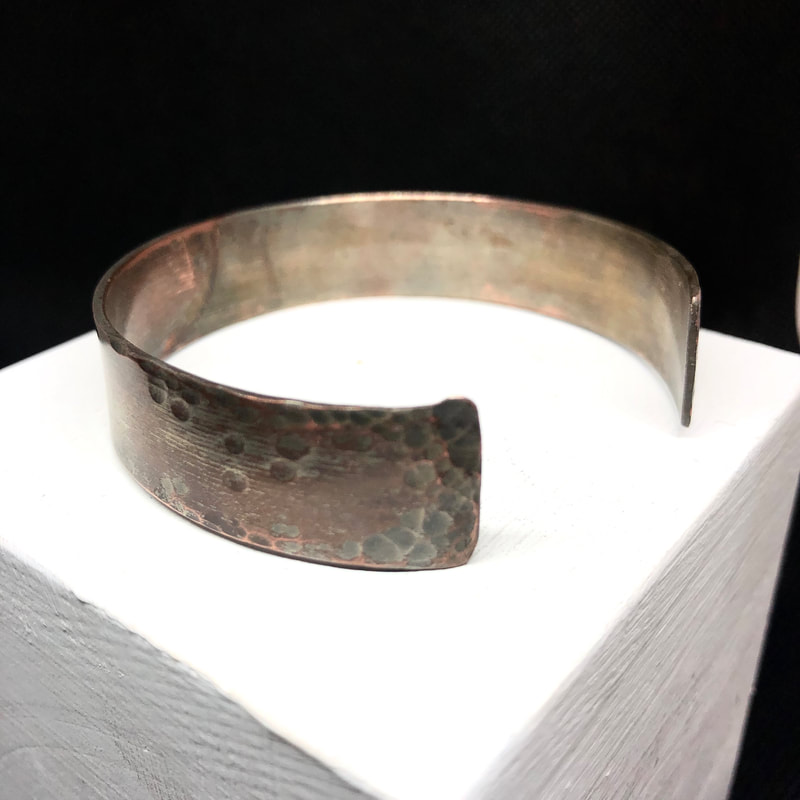
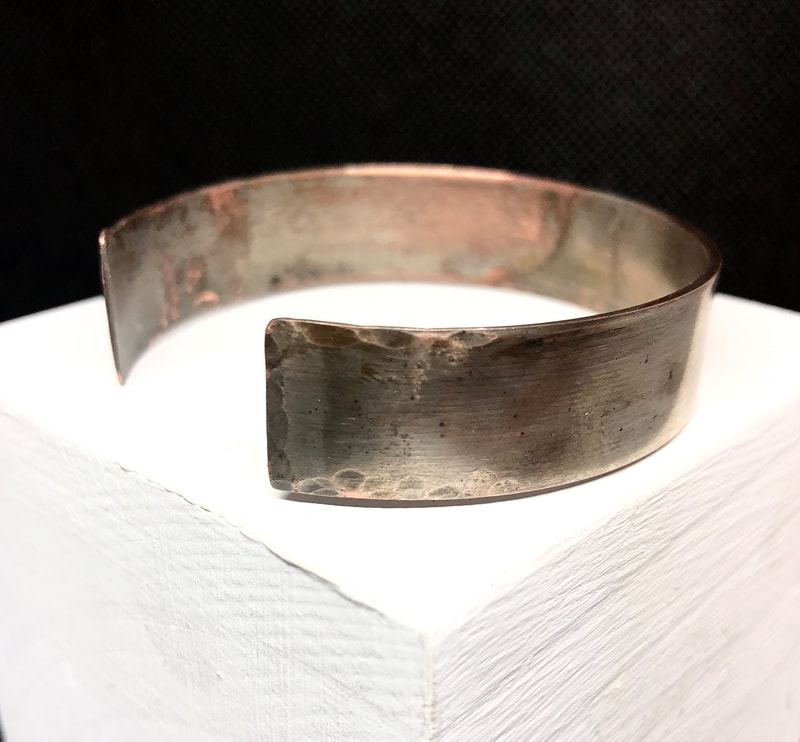
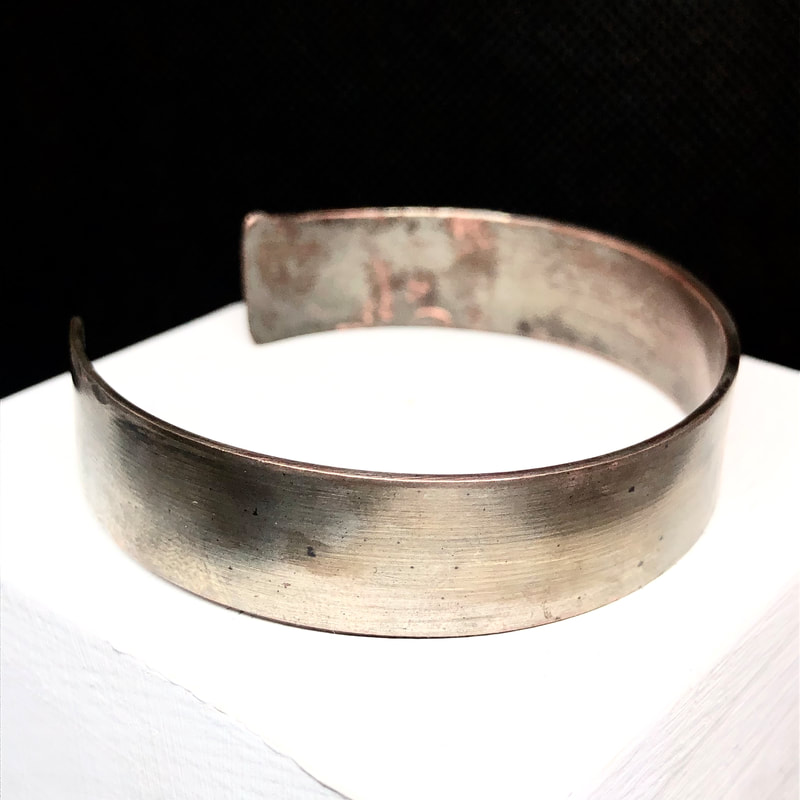
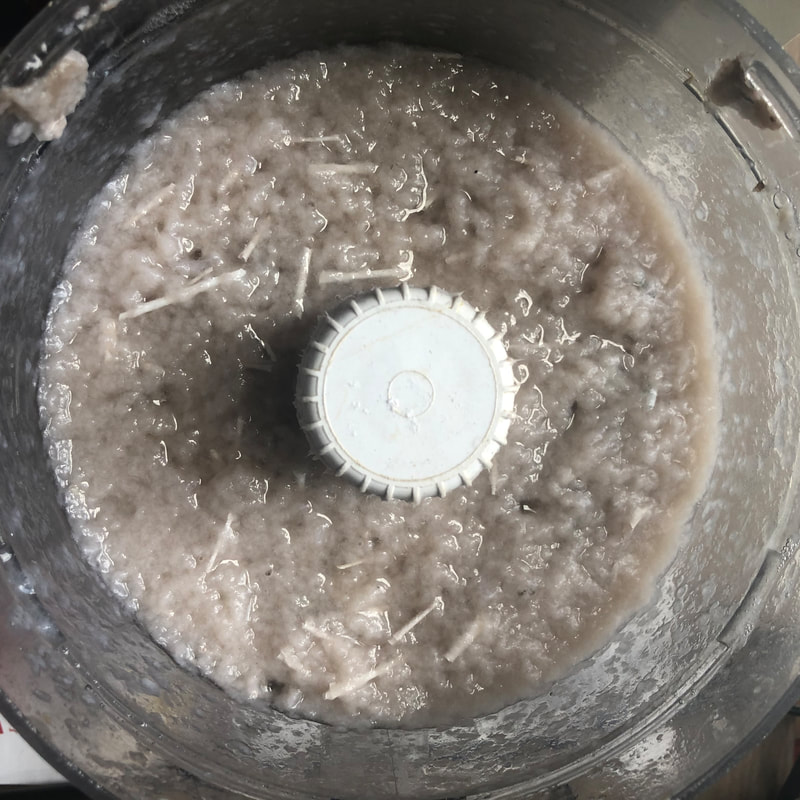
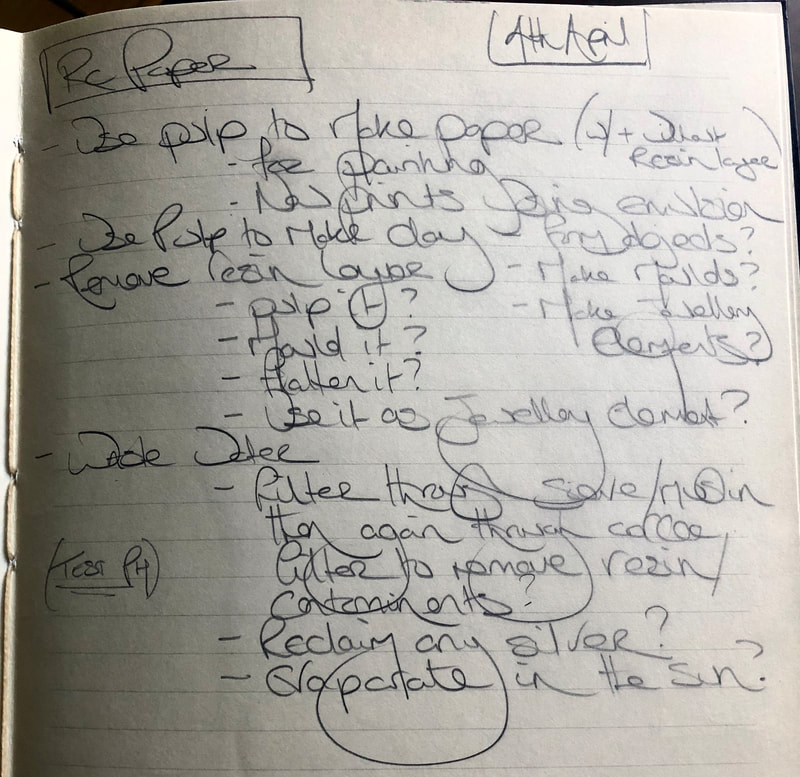
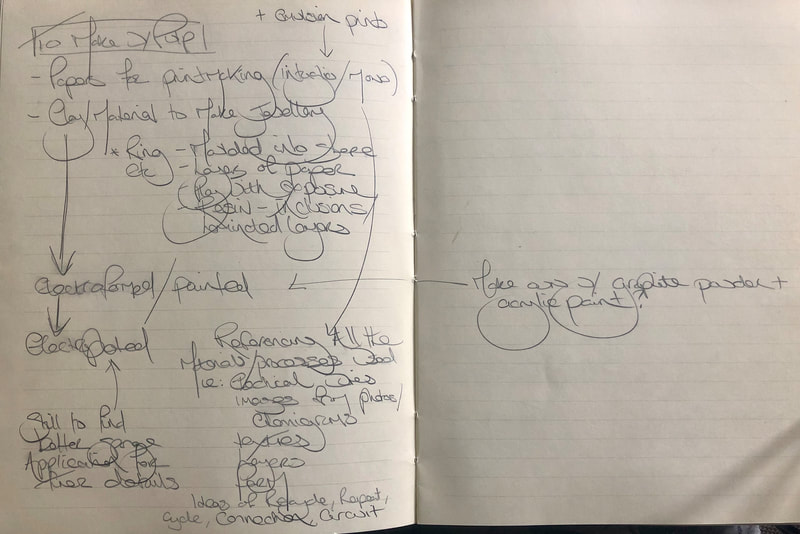
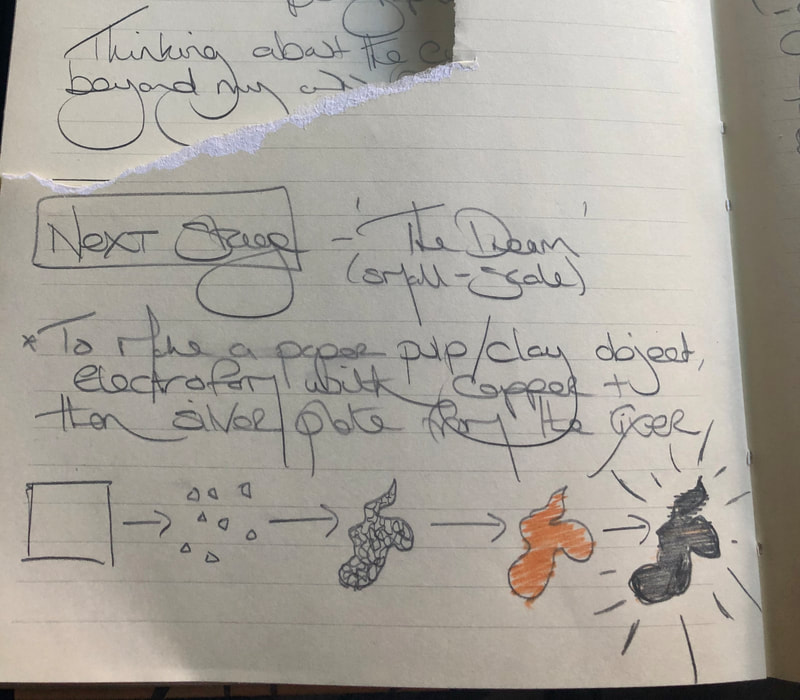
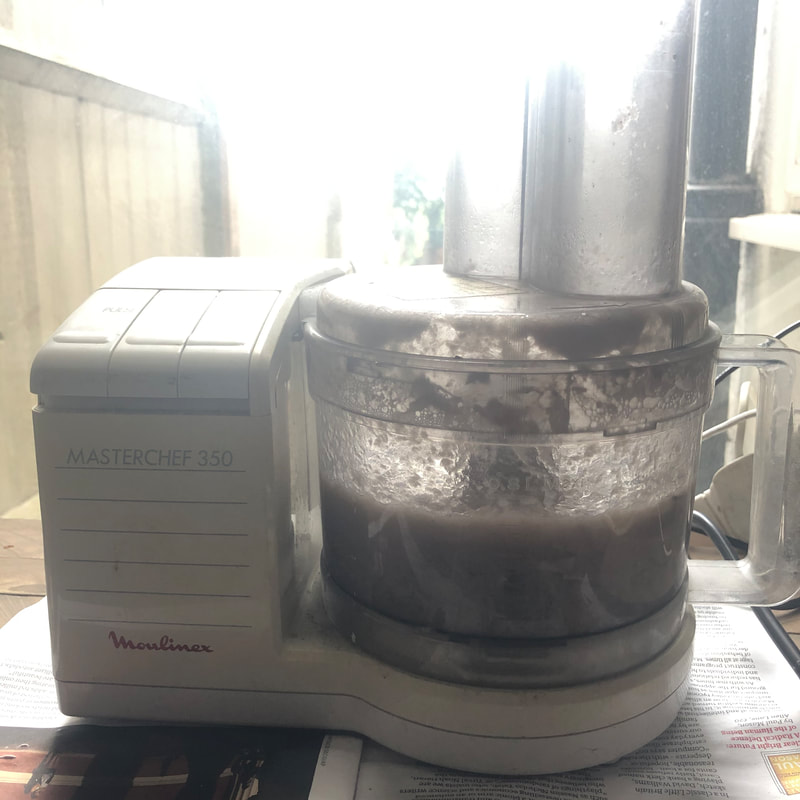
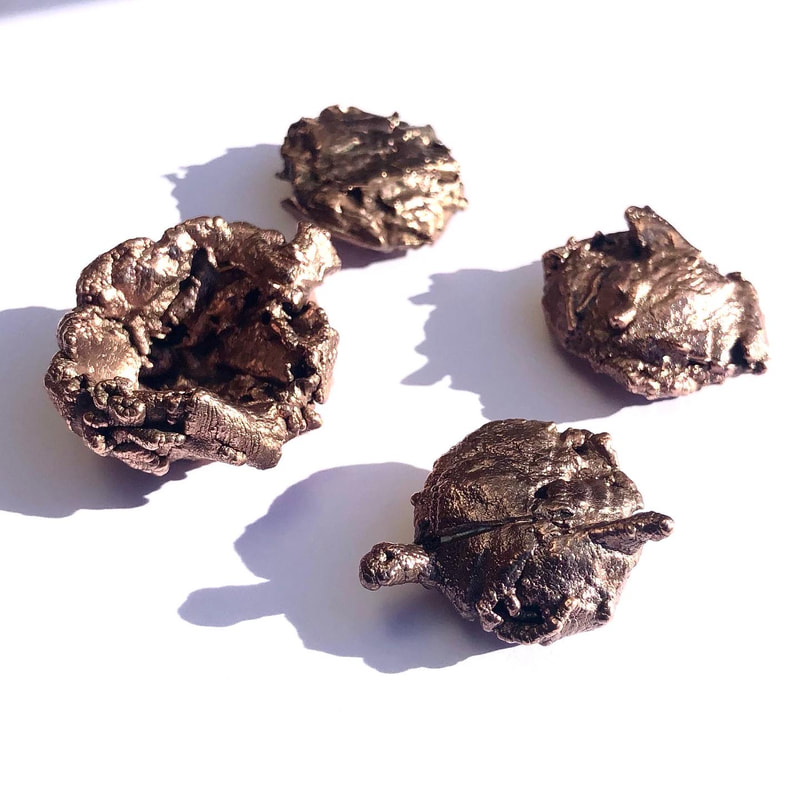
As it's now 2022 (I still haven't quite fathomed how that happened) I thought I should finally show you a few experiments I was working on last year! These will all be undergoing further development in a couple of months time, and I CANNOT WAIT to get stuck in and share their progress with you. These are a few Initial test pieces I made at the very beginning 2021 as part of my ongoing work following the London Alternative Photography Collective's Sustainable residency in April 2020. Resin coated photographic paper cannot be recycled due to this plastic coating, so I’ve been investigating many different ways of reusing it within my practice. In this experiment I was interested in creating 'gemstones' and material from failed/waste chemigrams that still featured the structural and ephemeral characteristics of the paper and the images printed onto them. Wearable memories, stories, moments, captured fragments in time. There's plenty more to follow including some exciting fusion of techniques! As many of you are aware, circular economy principles are integral to my work and it is my hope to ultimately not only create a closed-loop waste recycling system within my practice but also a means to collaborate with other artists to share and manage resources. Head to my other blog posts to see more experiments including intaglio prints using RC paper as a printing plate and electroformed RC paper pieces silver-plated from exhausted photographic fixer, a process developed as part of my work on the residency. ALSO... Experimental setting with alternative discarded materials As mentioned in my previous post the work I've developed during and since the residency has recently attracted some attention, and not being someone who's particularly good at 'promoting' my work I thought I'd start a blog to document some of my projects. Particularly ones that are ongoing and potentially collaborative. The last 6 months in my studio have been a bit like an archaeological dig. Finding and rediscovering old work that was presumed lost (or disintegrated!!). These experimental pieces were instigated last year off the back of the Sustainable Darkroom residency run by London Alternative Photography Collective in April 2020. Small sculptural forms made from resin coated photographic paper, electroformed with recycled copper to then be silver plated from the fixer the photos originally emerged from. Reuniting the silver and paper. A cyclical process. I’d put these pieces ‘somewhere safe’ and then had to pack up and move, so didn’t manage to plate them at the time. It was wonderful to discover though that they had developed over a years worth of patina which I absolutely love, and hope to retain. The next stage was to silver plate them from the fixer...** Silver-plated chemigram... I am so glad I did pursue this investigation as it's one thing to have big ideas but it is really quite something when those ideas actually work! It has definitely exceeded my expectations and I have many more experiments in the pipeline (some of which I mention in the publication This is (Still) Not a Solution) that are starting to look even more possible than I had originally thought, such as a series of silver-plated photographs, drawings and paintings. Of course, there are still plenty of issues to tackle particularly the accelerated tarnishing due to the sulphur content of the fixer but part of my work is to embrace the evolution of materials and artworks over time so I'm enjoying their transformation on an hourly, daily and weekly basis. In the spirit of the project I have been lucky enough to engage with a number of independent photographers and darkrooms to take used fixer off their hands to recycle the silver therein, so I should be good for raw materials for quite a few more experiments and have relieved them of the trouble of disposing it. I hope this may also lead to potential creative collaborations in the future. It's an extremely exciting move forward but the process is excruciatingly LONG and labour intensive. I'm just about to embark on a period back in the theatre world until April 2022 so further development will frustratingly be on hold for a little while. But taking a little step back I hope will allow some beneficial rumination on my train/tube journeys. I cannot wait to get going on the next phase! BTW #nevertrustajewellerwithcleanhands **Please note that I undertook a large amount of research and preparation to undertake this safely and used appropriate PPE and extraction at all times My recent reveal on Instagram of the work I undertook during and have developed since The London Alternative Photography Collective's 'The Sustainable Darkroom' residency has gained an extraordinary amount of interest. So, I thought I should write a bit about my explorations and how it all started. At the start of lockdown 2020 I was delighted to be invited to take part in the residency. The collective organised 4 micro residencies over the course of a month bringing together a number of artists, researchers, scientists, technicians and academics to interrogate and challenge the environmental impact and sustainability of darkroom practices. I had been asked to contribute to the first residency of the series 'Recycle' which ran from the 1st til the 5th April, 2020. We would be 'looking at materials generated by the photographic darkroom, exploring new and pre-existing avenues for the ethical disposal of waste. As a group, we will also be considering the life and use of materials beyond the darkroom and their cross-pollination into other industries.' Originally the residencies were supposed to take place at Guest Projects in East London but had been very successfully moved entirely online. It certainly offered an additional layer of challenge to the project but I'm so impressed with how we all navigated it, particularly since it was the first time many of us had used the remote working techniques that we are all so familiar with now! The results of the residency were to be presented in the form of workshops and participatory events at the end of each week and then a symposium at the end of April, 2020. These were sadly postponed due to the pandemic but the publication This is (Still) Not a Solution was created compiling a great deal of the thoughts, ideas and experimentations from the project which can be purchased through London Alternative Photography Collective. Tales from the Residency Part 1Many of you already know that my work is rooted in what's discarded (physically and conceptually) and as an important part of my process I reuse, rework, repurpose and recycle as many materials as possible within and across my art and jewellery practices by incorporating remnants and waste from one piece of work to construct a new one. For example digital negatives from photographic prints then become resists for etching texture into copper or silver for jewellery or printmaking and are then turned into stencils or plates for printing and painting. All waste paper is recycled into surfaces for printmaking, drawing and chemigrams or elements for packaging my jewellery. Silver and wax offcuts and filings are melted down and reused… My current focus is to detoxify my processes as much as possible, to find safer alternatives to the chemicals I use for both my photographic and jewellery work and to continue to improve sustainability within my practice whilst retaining the quality and integrity of my work. The Sustainable Darkroom residency therefore provided the perfect opportunity to collaborate with other artists to learn and develop ideas and strategies. I was also very excited to discover systems that could potentially work across, bring together and benefit different creative mediums… It was an intensive week of experiments, research, online meetings, collaborations and talks. Our group leader immediately put us to work asking us to dig out failed/rejected photographic prints to recycle them into a workable clay. Resin coated photographic paper is notoriously non-recyclable so our group was tasked to pulp all the RC paper we could lay our hands on to test this idea. There were varying results! BUT me being me, before I pulped anything I wanted to try something a little different. I had a whole stash of VERY old VERY expired RC papers and photographic chemicals, so to start with I made a number of chemigrams. I allowed myself to create these in an entirely free and chaotic way, which was a lovely way to start the week!! Anything I didn't like or just didn't amount to anything at all I committed to the 'Pulp Pile' except for one. There was a very faint white trace that I thought would make a really interesting etched line. I figured that I could scratch into the resin coating like a Drypoint plate and then etch using intaglio inks. So I scratched into it, rubbed in some ink and... Not great. However, stupidly in my haste I hadn't soaked the paper first. So, I soaked some paper for 5mins blotted it inked up again and.... This was an incredibly exciting and promising discovery! I've since made quite a few more prints with varying degrees of success. Making each print is an intensely laborious process and quite hit and miss. Because of the nature of what the 'plate' is made of it can get quite sticky if the the receiving paper is too damp or the pressure of the press is just that little too much. There's been a LOT of 'failed' pieces and a LOT of mess! I will never get an identical print but I like that. The small variations make each one unique. And those 'failed' prints will be reworked to create new pieces. And thus is the nature of my process! I'm going to continue printing as many as the plate will allow and then I'll retire it to a frame of it's own because it's a beautiful piece in it's own right now. Like all the ancient historical time-worn wood blocks and copper plates before it. It will have come full circle starting out as a print, then as a means of creating new prints, to becoming a print itself once again. It is this cyclical way of working that really excites and motivates me. Tales from the Residency Part 2 - Hi Ho Silver LiningsSo, the main reason I was invited onto the residency was to contribute with ideas around the recovery of silver from photographic chemicals, as it is an environmental hazard if disposed of incorrectly plus it is a valuable and finite resource, and London Alternative Photography Collective were interested in whether it was possible to collaborate with the jewellery industry in some way. There are already systems in place in commercial photographic companies (including x-rays) to extract the heavy metal so that chemicals can be disposed of safely, mostly through the metal replacement process. I contacted one of my main silver suppliers to ask whether silver from the photographic industry was included in their Eco silver (100% recycled silver made from reclaimed/scrap silver from various industries) but it turned out that it wasn't. It seems it's too much of a faff for so little, therefore not a particularly viable source. However, I was really interested to see if I could set something up on a much smaller studio scale, with my cyclical process in mind. I did a LOT of research. It was also important to me to find as sustainable approach as possible. So, with RECYCLE being the name of the game I set up a small Frankenstein's monster-esque lockdown mini-electrolysis system in my studio made out of as many found and borrowed elements as possible. Being fairly early on in the lockdown at the time (and also being a stage manager) made for some serious (and safe) resourcefulness! I only ended up having to order two things that in 'normal' times would have been easy to source second hand. **I should add that full PPE and extraction was used which is essential as a small amount of Hydrogen Sulphide can be produced if the amperage is too high. I undertook a great deal of research and preparation to ensure that I could perform the experiment safely.** My idea to test out this set-up was to create a number of chemigrams using my batch of expired b&w resin coated paper and photographic chemicals, so as not to waste them, then recover the silver from processing these prints to plate a piece of copper from my scrap pile and be able to dispose of my spent chemicals in the appropriately safe manner. I won't go into the long drawn out details, I'll let the next photos do the talking... Not bad for the first couple of goes. I really wasn't convinced that my fix bath would have anywhere near enough silver in it after processing just a few prints to amount to anything at all, but I was clearly wrong. Certainly preferable to the metal replacement process I tried... And it smelled even worse than it looked!!! First trial of a piece of jewellery plated with the fixer. I love the varying tones and uneven texture, very much in keeping with my organic aesthetic. Tales from the Residency Part 3 - Pulp FictionThe answer to the ultimate question EVERYONE has been desperately waiting for... 'To pulp, or not to pulp' Well? Did I pulp? Yes. Yes I did. An hour tearing some failed resin-coated prints into tiny tiny pieces. An overnight soak. Another overnight soak. One more overnight soak for luck. Then pulverised in my 'vintage' Masterchef food processor, which incidentally I bought 25 years ago second hand from the Friday Ad newspaper when I was a student in Brighton. I had LOTS of plans on what I wanted to try with it... But, I'm ashamed to say that I then became a bit distracted with starting the Remnant print series that I abandoned it and ... I did give it a little 'pulse' every day... I was convinced it was going to start growing a personality since at that point it had been sat for just over a month! Reminds me of when I was doing my GCSE art and growing mould from dregs of tea left in cups on my windowsill to draw/paint/embroider from and with. My mum was NOT impressed. Just one of many art-related perspectives we had a difference of opinion on, like the state of my lovely pink carpet gradually turning black from charcoal, and hanging out of my bedroom window flame painting and generally burning stuff (intentionally and unintentionally). Some things just don't change. I did make a few small forms with some of the pulp and then dried out and stored the rest to use again later. All the remaining water I bottled and reused to paint with. I experimented with electroforming them with surprisingly good results, but it was at this point my experimentations were halted due to having to pack up everything and move house! I felt compelled to continue the work, research and experimentation that we began as it felt like I had only started to scratch the surface during the residency. It was a whole new way of working and collaborating that really excited and inspired me. Bringing it online and experiencing the restrictions and technical problems really instigated a more resourceful approach from everyone and demonstrated that it was completely possible to collaborate creatively in that way. I'm so looking forward to finally meeting up with the group when we can. I asked each of the RECYCLE participants to make a small sculpture, bead or charm from their paper pulps and save all their used fix solution so that when we eventually re-group in person we can construct a piece of jewellery together connected by copper plated with the silver recovered from all our used fix baths.
It felt like a fitting way to document our work. Based on and incorporating all of our input, plus the silver collected from each of our processes, and also referencing research that was started into the universal connector, the circuit made to recover the silver and indeed our own connection through the project. I hope one day we can connect again in the not too distant future. |
AuthorCharlotte E Padgham is an experimental and sustainable artist and jewellery design-maker using the imperfect, discarded and intervention of the self as inspiration, tool, and material. Circular economy principles are an integral part of her process. Materials and waste are reused, reworked and recycled within and across her art and jewellery practices. Archives
April 2022
Categories
All
Sign up to my mailing list to receive notifications of new blog posts...
|

 RSS Feed