|
All artwork and jewellery you purchase from me is accompanied by a card with a little bit about my work, the materials I use and information on how to stay in touch all printed on luxurious 100% biodegradable paper containing a mixture of wild flower seeds including Poppy, Daisy, Rudbeckia and Forget-me-not. It's important to me that my packaging and related 'paraphernalia' is as waste-free and sustainable as possible. And I just love being able to gift a little bit of nature that will live on and benefit not only our environment but also our mental health. So how do you plant your seeded paper? I've created a little step-by-step below to help you on your way to growing your own wild flowers. It is a very simple process and I find it quite meditative as a gentle, quiet moment to myself...or get your friends or family involved to share the experience. When should you plant the seeded paper? The end of April/beginning of May (or once the last frosts are over) is the perfect time to plant your seeded paper information card. Although, if you are planning to grow them indoors you can pretty much plant all year round as long as they are by a window. But being wild flowers, they will ultimately prefer to be outdoors and untamed! STEP 1: Tear up the card into small pieces (don't forget to photograph it first to keep the info, or sign up to my mailing list and follow me on social media to stay in touch!). 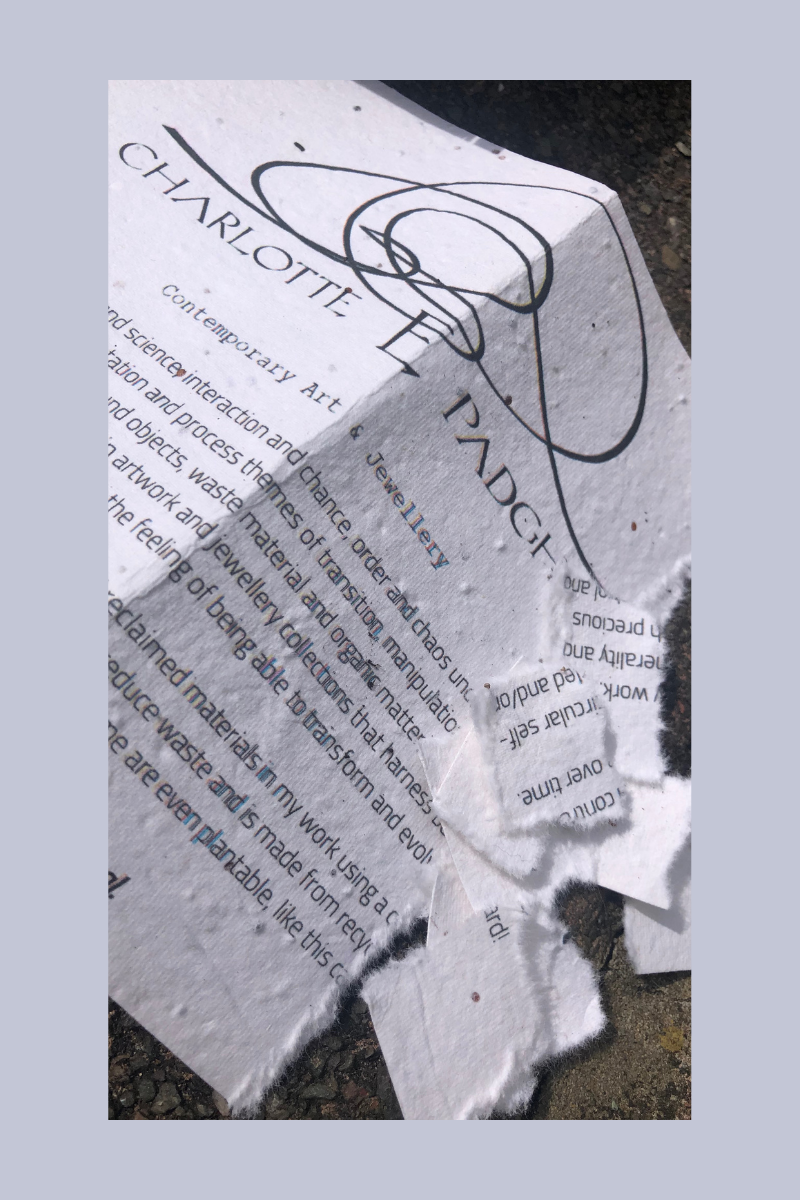 STEP 2: Soak the pieces for 30secs or so in water. 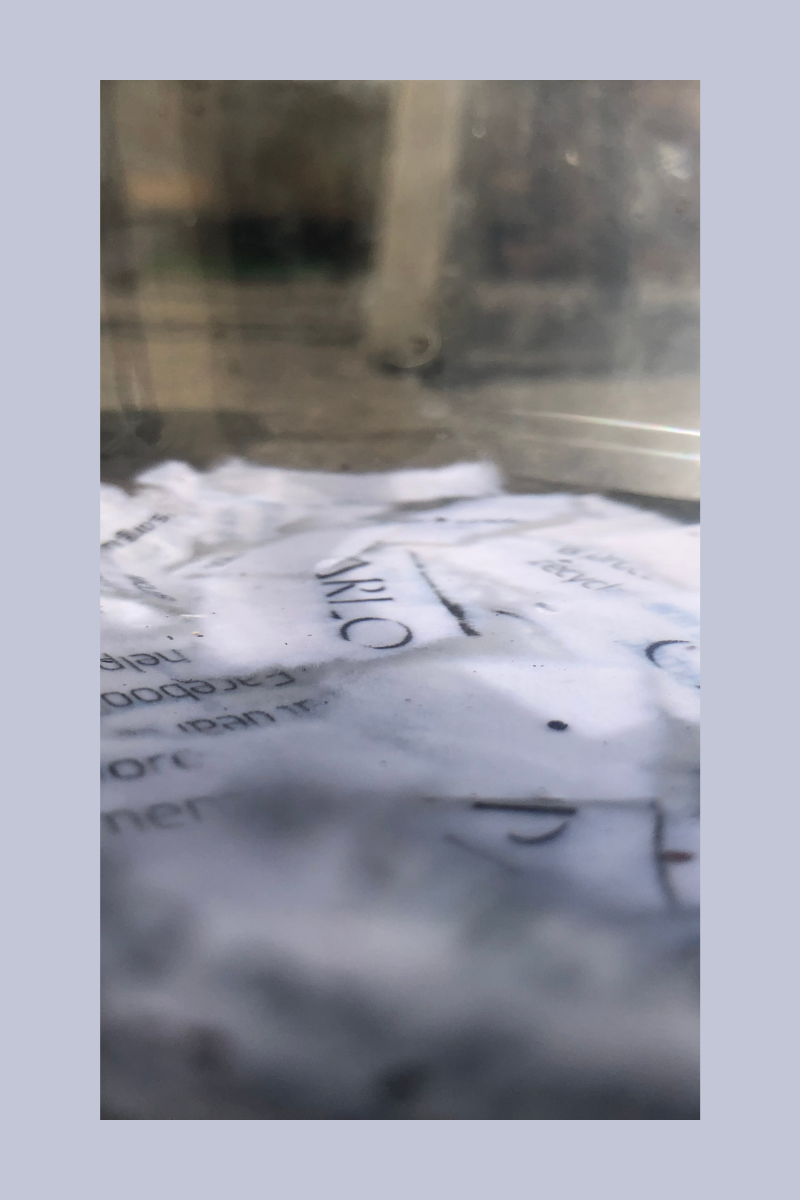 STEP 3: Layer the soaked torn pieces of seeded paper on top of soil in a pot or a flower bed. 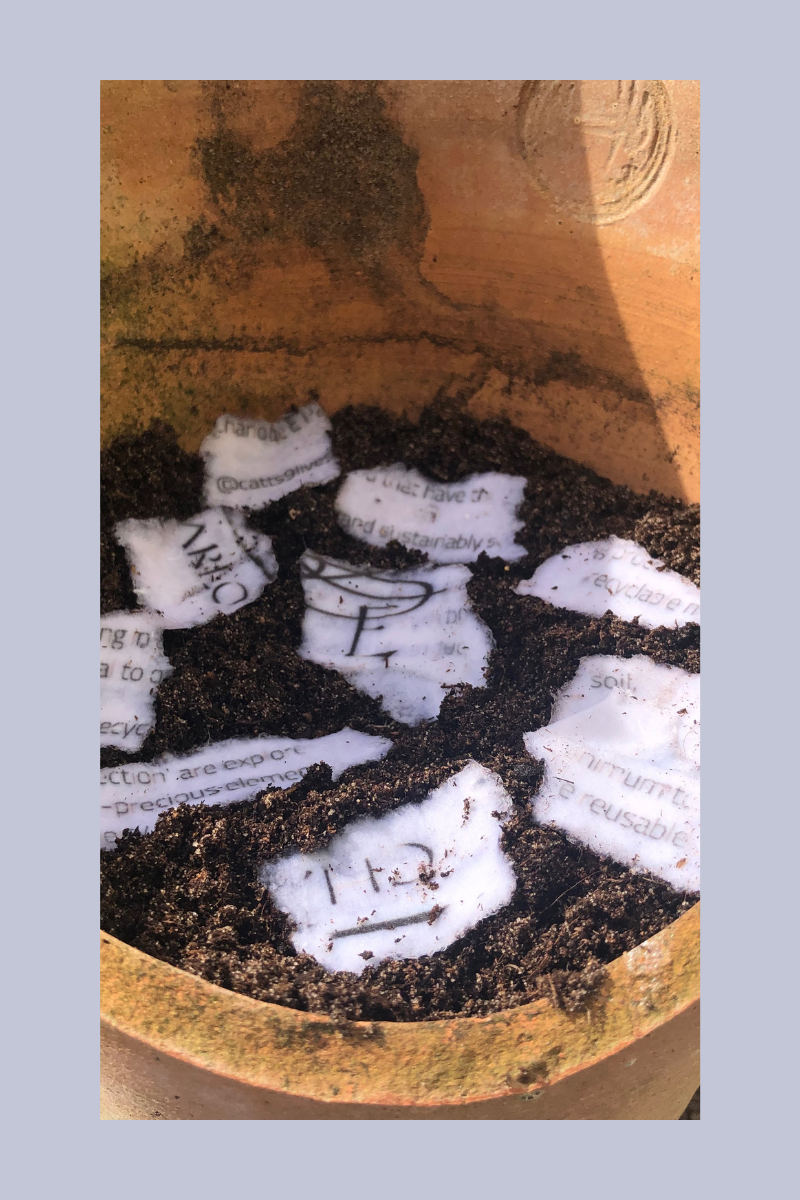 STEP 4: Cover lightly with a layer of soil and then water carefully. 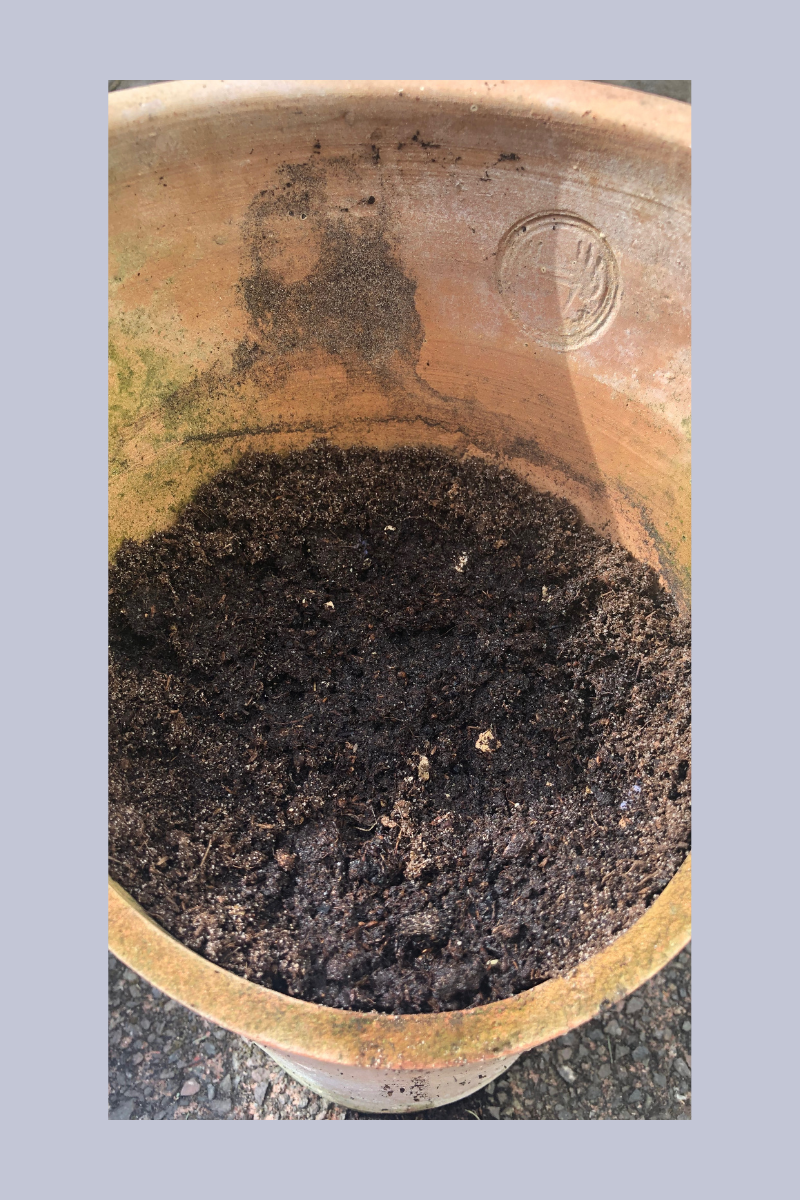 STEP 5: Patience! It could take a few weeks for the seeds to germinate. Keep the soil moist and warm (but don't over water as it will encourage rotting), then keep an eye out for those first tiny sprouts! I hope you enjoy the experience. Please do photograph your progress and tag me on Facebook and Instagram, I'd love to see how you get on!
0 Comments
Your comment will be posted after it is approved.
Leave a Reply. |
AuthorCharlotte E Padgham is an experimental and sustainable artist and jewellery design-maker using the imperfect, discarded and intervention of the self as inspiration, tool, and material. Circular economy principles are an integral part of her process. Materials and waste are reused, reworked and recycled within and across her art and jewellery practices. Archives
April 2022
Categories
All
Sign up to my mailing list to receive notifications of new blog posts...
|
 RSS Feed